Blog › Reddit uncensored AI image-to-video: A practical guide to AnimatorHub.ai
Reddit uncensored AI image-to-video: A practical guide to AnimatorHub.ai
Reddit uncensored AI image-to-video - AnimatorHub.ai: adult workflow, privacy, prompts, and credits.
Key Takeaways
Image-to-video works best when the source image, motion prompt, privacy choices, and budget all receive equal attention.
- Use a clear PNG, JPG, or WEBP image with a strong subject and room for movement.
- Treat “uncensored” as broader adult creative range, not permission to involve minors or ignore consent.
- Describe motion, expressions, camera behavior, lighting, and unwanted artifacts in plain language.
- Test short five-second clips before spending more credits on longer generations.
- Keep private work in My Videos unless you deliberately want it visible in Explore.
Understanding AnimatorHub.ai and its image-to-video workflow
The phrase Reddit uncensored AI image-to-video - AnimatorHub.ai usually points to adult creators comparing tools, prompts, and results in community discussions. Reddit can provide ideas, but posts may be old or based on one person’s workflow, so check the platform’s own rules before uploading anything. Animator Hub is an AI video generation platform for adults that creates clips from text, still images, or existing video sources. Its image-to-video mode starts with one still image and applies the motion described in a prompt.
What “uncensored” means within the platform’s content policy
Here, “uncensored” refers to unrestricted adult content creation within the stated safety limits. The platform allows adult content, while its hard limits prohibit content involving minors and CSAM of any kind. That distinction matters because fewer content filters do not remove the need for consent, lawful source material, or careful handling of real people’s likenesses.
The image-to-video guide is useful when you want the platform’s workflow, prompt controls, and safety boundaries in one place. Read the Content Policy and Terms of Service before testing mature material, especially if a reference image includes another person.
Who can use the service and why age verification matters
The service is for adults aged 18 and over. An age gate appears on the first visit, and users must confirm that they are 18+ before using the platform. This is not a decorative warning: it sets the basic eligibility line for every generation mode and every uploaded reference.
Keep that restriction in mind when sharing advice in public communities. Do not send adult outputs or source files to minors, and do not treat a public gallery as a private storage area. A private workflow starts with an adult user, a lawful image, and a clear decision about who may view the result.
How image-to-video differs from text-to-video and video-to-video
Text-to-video begins with a written description and generates the visual starting point from that description. Image-to-video begins with a PNG, JPG, or WEBP still and applies natural motion, expressions, and scene dynamics described in the prompt. Video-to-video starts with one or more source clips and changes their style, scenes, clothing, or environments.
The choice depends on what you already have. A still image gives you a fixed composition to animate, while text-to-video gives you more freedom at the starting stage. Video-to-video is better suited to transforming existing footage, and its documented source limits are different from those of image-to-video.
What to expect from 1080p generation and short clip durations
The platform describes its output as 1080p and offers short image-to-video durations of five, ten, or fifteen seconds. Short clips are easier to review than long sequences, especially when a face, hand, garment, or background must stay coherent from the first frame to the last. A strong first test can save credits and reveal whether the image and prompt are working together.
Use the 1080p image animation workflow when you want a quick reference for motion-focused clips and multiple aspect ratios. Resolution does not guarantee perfect anatomy or continuity, so judge the movement itself rather than relying on the output label alone.
Preparing an image for better animation results
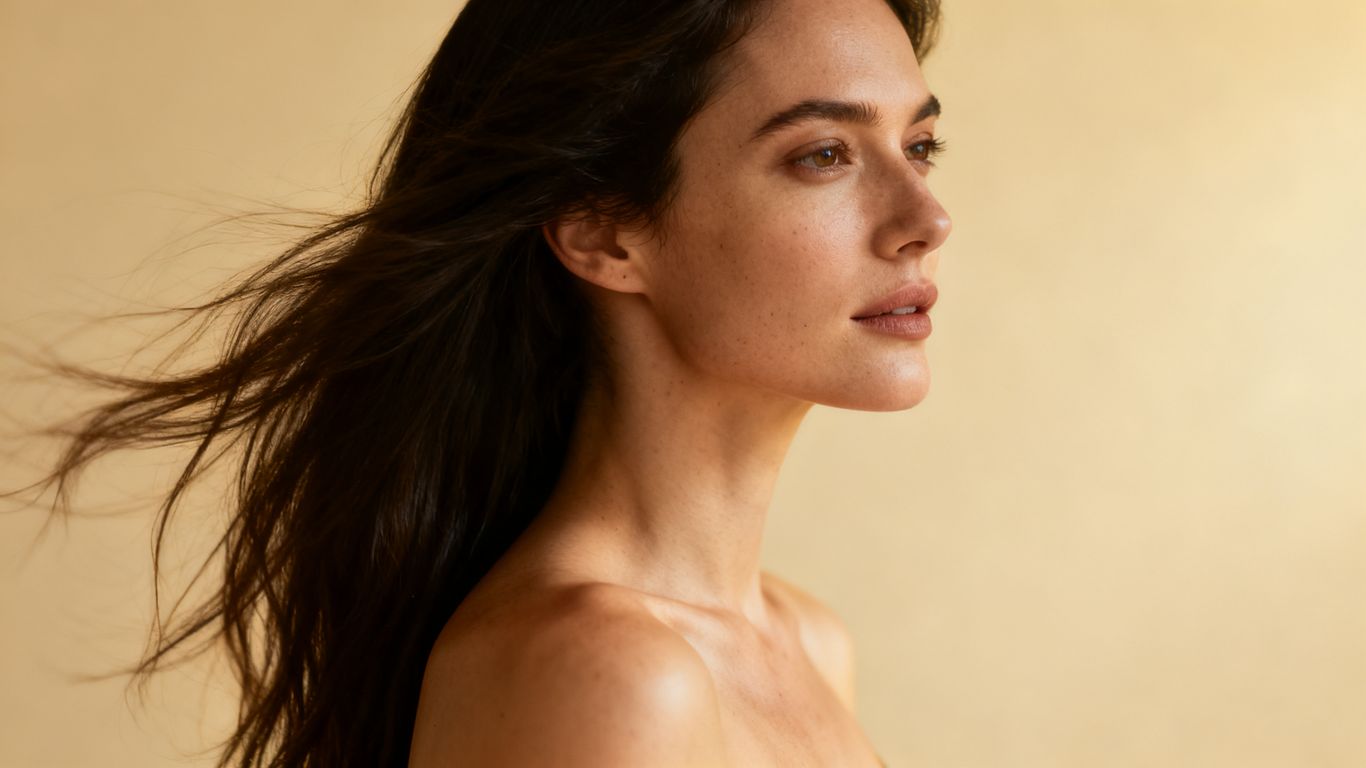
A good source image gives the model fewer visual problems to solve. Start with a subject that is visible, well lit, and separated from a confusing background. Think of the still as the first frame of a shot, not merely a picture to upload.
Choosing compatible image formats and aspect ratios
Image-to-video accepts PNG, JPG, and WEBP uploads. Use the format that preserves the detail you need, and check the file before uploading so compression, cropping, or transparency does not create surprises. The preview tile adapts to the image’s true aspect ratio, which helps you see how the framing will carry into the clip.
Choose a ratio that matches the intended viewing context. A wide composition leaves room for a lateral camera move, while a vertical portrait can suit a subject centered for mobile viewing. Do not force a crop that cuts through the face, hands, or a major prop unless that crop is part of the intended shot.
Framing subjects for natural movement
Leave some breathing room around the subject when the prompt calls for a head turn, a step, a camera pan, or fabric movement. A close crop can work for subtle eye or facial motion, but it gives the model less space for larger actions. Keep the main subject’s pose readable and avoid placing important details against the frame edge.
A useful test is to describe the first and last moments in your head. If the subject can move from the starting pose without leaving the frame, the composition is more likely to support the requested action. Small, controlled movement is usually a sensible first pass.
Removing visual issues that can confuse the AI
Before uploading, inspect the image for duplicated fingers, warped jewelry, disconnected limbs, smeared text, harsh compression, and objects that merge into the subject. These flaws may become more visible once motion is added. A clean background also helps when the prompt asks for a camera move or environmental change.
Correct the source when practical, then keep the prompt focused. Asking the model to fix a damaged hand, change the outfit, move the camera, and add dramatic lighting in one short clip gives it too many competing jobs. One clear visual goal is easier to evaluate.
Using reference images responsibly and with permission
Only upload images you own or have permission to animate. For a real person, consent should cover the intended transformation and the audience that may see the result. Public availability is not the same as permission, and a face found online should not be treated as free source material.
It also helps to remove private metadata and unrelated personal details before upload. Keep a copy of the original separately, and decide whether the finished clip should remain private before you begin. Consent comes before motion in any responsible reference workflow.
Writing effective image-to-video prompts
An image-to-video prompt works best when it tells the model what changes and what stays stable. Start with the subject’s action, then add expression, environment, camera behavior, and visual treatment. You do not need a long paragraph if each phrase has a clear job.
Describing motion, expressions, and scene dynamics
Use concrete verbs such as turns, walks, breathes, blinks, reaches, or looks toward the window. Add pace and intensity when they matter: slow head turn, gentle breathing, quick glance, or restrained fabric movement. If the person should remain in place, say so rather than leaving the model to infer it.
A practical prompt might describe a subject standing still while their hair moves lightly in a warm breeze, followed by a slow camera push toward the face. That gives the model a subject action, an environmental action, and a camera action without asking for an entire story in five seconds.
Controlling camera movement, lighting, and visual style
Camera language helps define the shot. Mention a slow push-in, a gentle pan, a locked camera, or a slight handheld feel, then state the lighting and style in simple terms. Examples include soft window light, cool evening light, high-contrast studio lighting, cinematic color, or painterly texture.
Keep the number of changes modest. A locked camera with subtle breathing and warm light is easier to judge than a rapid orbit, a lightning storm, a wardrobe change, and a new location in the same clip. The platform’s in-app Guide also provides prompt formulas and vocabulary for camera movement, lighting, shot size, and style.
Using the prompt enhancer without losing creative control
The built-in prompt enhancer can expand a short instruction into a more detailed prompt. It can be useful when you know the action you want but do not yet have a strong vocabulary for camera or lighting. Read the enhanced version before submitting it, since extra details may change the mood or add motion you did not request.
A reliable workflow is to start with your own short prompt, inspect the enhancement, and remove anything that conflicts with the source image. Keep the final version close to the original creative intention. Enhancement should clarify the shot, not replace your judgment.
Adding negative prompts to reduce common artifacts
Negative prompts tell the system what to avoid. They are especially useful when a first generation shows unwanted camera shake, extra fingers, facial distortion, flicker, or background changes. Keep them specific to the problems you actually see rather than adding a long list by habit.
The platform can also generate a negative prompt automatically. Treat that result as a starting point, then add only the defects that appeared in your test. A short, targeted negative prompt often makes the next comparison easier to read.
Creating an image-to-video clip in AnimatorHub.ai
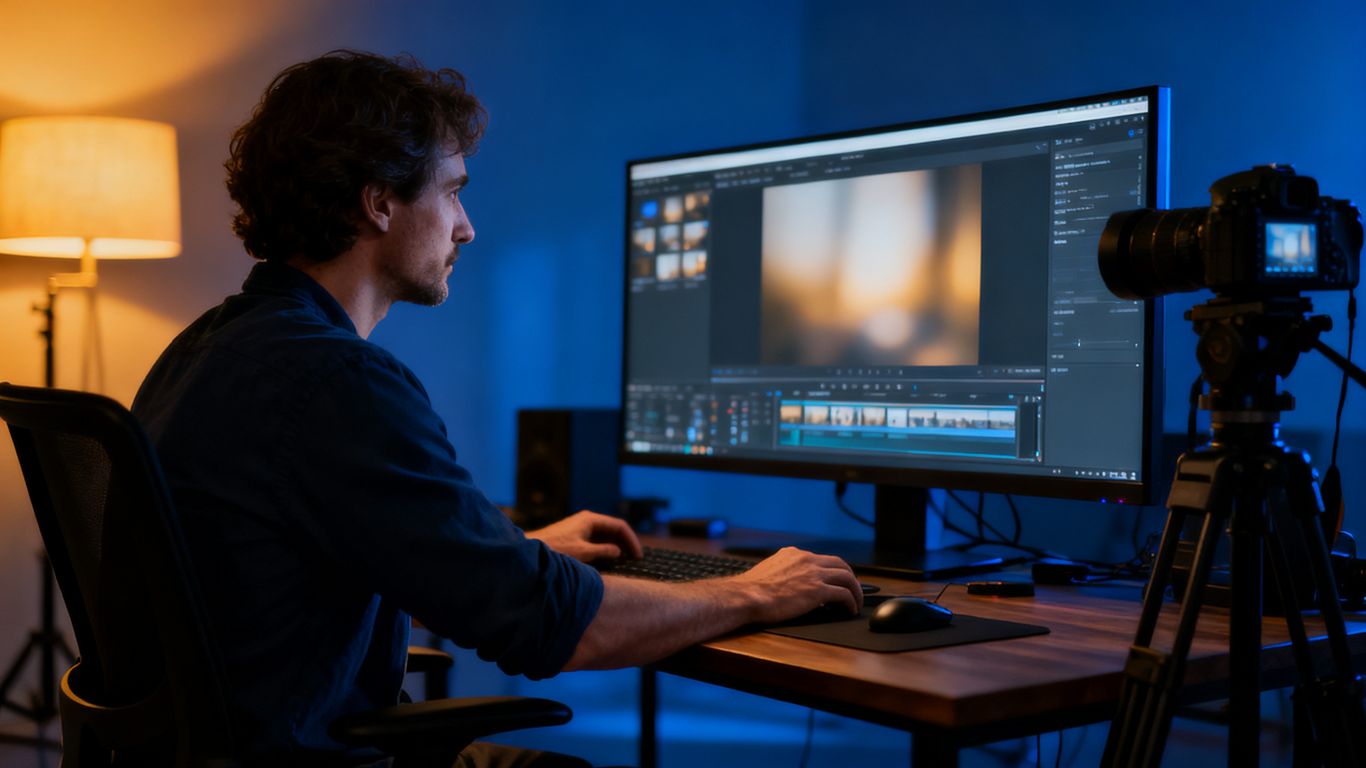
The Create page brings the main generation choices into one workflow. You select the source mode, upload the image, describe the motion, choose the clip settings, and review the result in your library. Animator Hub documents five-, ten-, and fifteen-second image-to-video durations, with multiple aspect ratios and shot types available through the creation controls.
Selecting duration, aspect ratio, and shot type
Begin with the shortest duration that can show the intended movement. Five seconds is enough for a blink, turn, breath, small gesture, or short camera move. Ten or fifteen seconds can support a longer action, but it also gives continuity errors more time to appear.
Choose the aspect ratio from the final use rather than from habit. Then select a shot type that agrees with the source framing. A close shot paired with a distant full-body action is likely to produce an awkward compromise.
Uploading an image and checking its preview
Upload a PNG, JPG, or WEBP file and inspect the preview before generating. Confirm that the full subject is visible, the crop is intentional, and the image has not been rotated or compressed in an unexpected way. The preview reflects the source image’s true aspect ratio, so it is a useful final check before credits are spent.
Read the prompt once more after the preview loads. If the image is a close portrait, remove instructions that require a large walk or wide environmental reveal. Matching the prompt to the visible frame usually produces a cleaner test.
Reviewing generation progress and estimated completion time
The video library shows statuses such as pending, processing, completed, failed, and expired. In-progress videos refresh automatically every fifteen seconds, and the interface provides an estimated completion time based on prior generation runs for that user. A completion notification can include a thumbnail and a Watch button.
Use the waiting period to prepare a small comparison plan rather than repeatedly changing everything. Note the source image, duration, ratio, prompt, and negative prompt. That record makes it easier to tell which change improved the next attempt.
Regenerating failed or expired outputs
A failed or expired video can be regenerated with one click. The regeneration flow pre-fills the original prompt, duration, ratio, and negative prompt on the Create page, which reduces the chance of losing the settings behind a useful test.
Before regenerating, check whether the failure came from the source image, the settings, or a temporary processing problem. If the same result fails twice, simplify the motion request or try a shorter duration instead of repeating an unchanged submission.
Managing privacy, visibility, and generated videos
A generation workflow does not end when the clip finishes. You still need to decide where it lives, who can view it, and whether you want to keep the source and result together. The platform separates the private My Videos library from the public Explore gallery, giving you a deliberate visibility choice.
Keeping creations private in My Videos
Generated videos are stored in the personal My Videos library, where you can view their status and manage visibility. Keep a clip private while you review its likeness, movement, and source-image permissions. This is especially sensible for adult material or anything based on a personal reference.
Private storage is not a substitute for careful account security. Use a device and account you control, avoid sharing private links casually, and review the visibility setting before sending a clip to anyone else.
Downloading, deleting, and organizing clips with albums
Completed videos can be watched and downloaded, while individual clips can be deleted. Albums let you group projects, rename collections, reorder videos by dragging, and add or remove clips through the available controls. Bulk selection also supports bulk deletion and bulk album actions.
A simple structure can separate source tests, approved clips, and clips that still need review. Delete abandoned experiments when you no longer need them, especially if the source image contains personal information.
Choosing whether to publish a video to Explore
Explore is a public gallery containing community videos that creators have set to public. Publishing is an intentional visibility change, not a required step for using the generator. Before switching a clip to public, check the faces, voices, backgrounds, metadata, and any consent agreements connected to it.
Public work may help other creators study prompts and framing, but visibility can spread beyond the audience you first had in mind. If the goal is private storage or personal experimentation, leave the clip hidden.
Understanding anonymous accounts and privacy expectations
The account model is designed to avoid a public profile, public display name, avatar, or visible personal identity. Email is visible only to the account owner inside the user menu, and uploaded files are tied to the account. That reduces public exposure, but it does not make careless sharing risk-free.
Treat anonymity as one privacy layer, not a promise that every action is invisible in every context. Read the privacy and data handling policy before uploading sensitive material, and avoid placing identifying details in prompts, filenames, or exported files.
Credits, safety, and responsible use
The pricing model is pay-as-you-go rather than subscription-based. The documented rule is simple: one credit equals one second of generated video. That makes short tests easier to estimate, but it also means repeated experiments can add up when you keep changing several variables at once.
How the pay-as-you-go credit system works
Credits are purchased in packages and remain available after purchase without an expiration period. The listed packages include 100 credits for $30, 500 credits for $125, and 1,000 credits for $200. A live balance appears in the navigation area, and the Credits page includes balance, package, and transaction information.
The platform supports cryptocurrency payments, while card payments are described as coming soon in the supplied product information. Check the current Credits page before paying because package details and payment availability can change.
Estimating credits for different video durations
Because the price rule is based on seconds, a five-second clip uses five credits, a ten-second clip uses ten credits, and a fifteen-second clip uses fifteen credits. This applies to the generated duration, not to the number of prompt words or the size of the uploaded image.
| Clip duration | Credits used | Best use |
|---|---|---|
| 5 seconds | 5 credits | Motion and framing test |
| 10 seconds | 10 credits | Longer gesture or camera move |
| 15 seconds | 15 credits | Short sequence with more action |
This table is a planning aid, not a quality promise. Run a short test first, keep the useful settings, and spend more only when the movement is headed in the right direction.
Content that remains prohibited, including anything involving minors
The platform’s adult scope does not permit content involving minors or CSAM of any kind. Do not use youthful-looking subjects in ambiguous situations, and do not attempt to bypass the age boundary with fictional labels or altered prompts. If an image could reasonably be read as depicting a minor, do not upload it.
Safety also includes lawful possession and consent. Adult status alone does not grant permission to transform another person’s likeness, redistribute private material, or publish a clip without agreement from the people shown.
Protecting personal images and respecting consent
Use source images that you own or are authorized to use, and tell participants what the AI transformation will do. For intimate images, obtain explicit consent for both generation and sharing. Keep private references private, and remove files from your library when retention no longer serves a clear purpose.
A responsible process also includes checking the finished clip for accidental exposure. Background documents, faces in mirrors, location clues, and distinctive marks can turn an otherwise private scene into identifying material.
Where to find the platform’s policies and submit feedback
The Content Policy, Terms of Service, and Privacy Policy are linked in the footer on every page. The in-app Guide provides prompt recipes and cinematic vocabulary, while the Feedback page lets logged-in users submit bug reports, feature requests, and general feedback.
Use those first-party pages when a community post conflicts with the interface or current rules. A clear report should include the generation mode, settings, error state, and steps that caused the problem, without attaching private source material unless it is necessary and safe.
Conclusion
A good adult image-to-video workflow is measured by control, not by how many settings you change at once. Start with a permitted image, describe one clear motion, test a short duration, review the result privately, and spend additional credits only when the evidence supports another pass.
Frequently Asked Questions
What does “uncensored” mean for adult image-to-video work?
It generally means the tool permits a wider range of adult themes than heavily filtered services. It does not mean every request is lawful, consensual, or acceptable, and it never includes minors or exploitative material.
What kind of image works best for animation?
A clear image with a readable subject, stable lighting, and room around important features is a strong starting point. Avoid heavy compression, damaged anatomy, cluttered backgrounds, and crops that leave no space for movement.
How long should a first test clip be?
A short clip is usually the most practical first test because it costs less and makes errors easier to isolate. Once the motion and framing work, a longer duration can be tested with the same basic prompt.
Should a motion prompt describe the whole story?
No. A short clip benefits from one main action, a small amount of environmental movement, and a clear camera instruction. Too many actions can compete for the same frames and reduce continuity.
Why do hands and faces sometimes change during animation?
The model is generating new frames from the source image, so fine anatomy and identity can drift during motion. A clearer source, simpler action, shorter duration, and targeted negative prompt may reduce those changes.
Is permission needed to animate someone else’s photo?
Yes. You should have permission to use the image and to create and share the resulting animation, especially when the material is intimate or identifiable. Public availability does not automatically grant those rights.
Should finished clips be published publicly?
Only if you have reviewed the content, confirmed consent, and accepted the possibility that others may save or share it. Keep personal experiments and sensitive adult material private unless public release is a deliberate choice.