Blog › Anonymous uncensored AI platform: AnimatorHub lets adults create on their own terms
Anonymous uncensored AI platform: AnimatorHub lets adults create on their own terms
Anonymous uncensored AI platform - AnimatorHub: adult video modes, privacy controls, credits, and prompt tips.
Key Takeaways
Adult creators need room to work, clear boundaries, and practical control over their videos. The details matter as much as the promise of creative freedom.
- The platform allows unrestricted adult content, with strict rules against content involving minors and CSAM.
- Text, image, and video inputs support different creative starting points.
- Duration, aspect ratio, shot type, and prompt tools help shape each generation.
- Private library controls include downloads, visibility settings, deletion, albums, and bulk actions.
- Credits are charged by generated second, and the listed packages do not require a subscription.
What makes AnimatorHub an anonymous uncensored AI platform
People searching for an anonymous uncensored AI platform - AnimatorHub want room to create without giving up every privacy boundary. Here, “uncensored” refers to the platform’s removal of the heavy content filters found in mainstream tools, not an absence of rules. The service is for adults, and its content policy sets clear limits. A little clarity upfront helps you create with your eyes open.
Create without mainstream content filters
The platform allows unrestricted adult content creation and removes the heavy content filters found in mainstream tools. That gives adults more room to pursue mature concepts without mistaking the service for a space without boundaries. The stated hard limits prohibit content involving minors and CSAM of any kind. Creative freedom and those limits sit side by side.
Keep your public identity out of the spotlight
The account uses an Anonymous Creator profile with no display name or avatar, and the public interface does not show personal information or social hooks. Your email is visible only to you inside the account menu. That is a meaningful distinction: anonymity here describes the public-facing experience, not a claim that no account information exists. The service supports Google sign-in, so review the account details before you start.
Understand the 18+ age gate and safety boundaries
The first-visit age gate requires users to confirm they are 18 or older. The platform is for adults only, and its content policy explicitly rules out any content involving minors, including CSAM. Those limits are firm, even when other adult themes are permitted. If you are unsure about a proposed scene, check the full Content Policy and Terms of Service linked from the site footer.
Know what anonymous-by-design does, and doesn’t, promise
Anonymous-by-design means the public profile does not display your name, avatar, or personal information. It does not mean you have no account: uploaded files are stored privately and tied to that account, while the account owner can see their email. Treat privacy as a set of specific settings and practices, not a magic cloak. Check visibility before sharing a video, and keep the distinction between private storage and public posting in mind.
Choose how to bring your video idea to life
Animator Hub supports three ways to begin: a written description, a still image, or existing video footage. Each mode fits a different starting point, so you can choose based on what you already have rather than forcing every idea into a text prompt. Text-to-video generates a matching video from a plain-language scene description. Image-to-video animates an uploaded still, while video-to-video transforms uploaded source clips.
Turn a written prompt into a cinematic clip
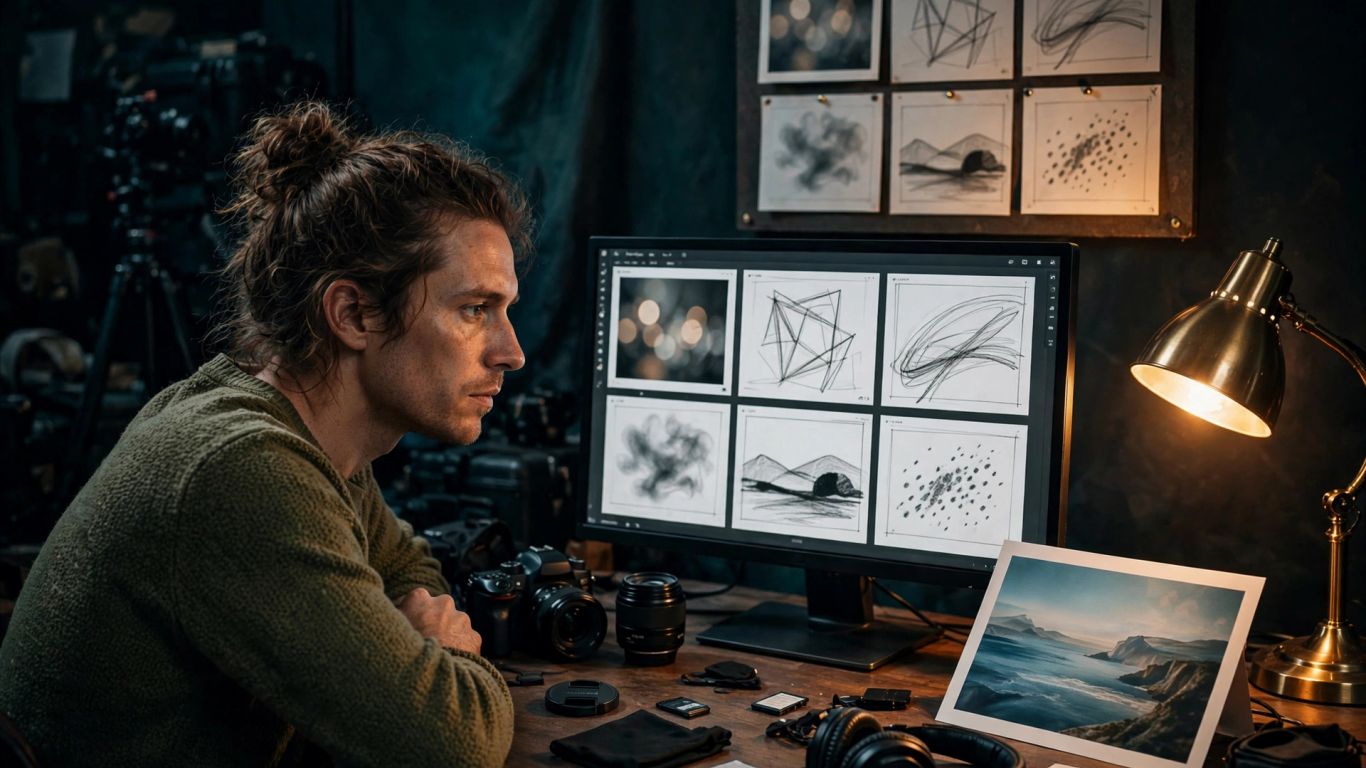
Text-to-video turns a plain-language description into a matching video. You can describe the subject, environment, lighting, camera movement, and style to guide the scene. Available durations are 5, 10, or 15 seconds, making it suitable for a fresh concept that does not yet have a visual reference. Give the model a scene with clear parts, not a vague mood alone.
Animate a still image with image-to-video
Image-to-video starts with an uploaded PNG, JPG, or WEBP image and animates it into a moving clip. The prompt can describe natural motion, expressions, and scene dynamics, while the system interprets the image content. Available durations are 5, 10, or 15 seconds. This mode works well when the still already contains the character, setting, or composition you want to carry forward.
Restyle existing footage with video-to-video
Video-to-video transforms uploaded source footage, with options to apply style changes, modify scenes, restyle footage, or change clothing and environments. The source can be an MP4 or MOV clip from 2 to 30 seconds, up to 100 MB per file, and you can upload up to three source clips. Generation durations are 5 or 10 seconds. If the motion or framing already exists in your reference, this mode gives you a different route than describing the entire scene from scratch.
Match the mode to your source material and creative goal
A quick choice of mode can save effort: start from whatever visual material you already trust, then decide what needs to change. The controls differ by mode, so this compact comparison helps set expectations before you upload or write.
| Starting point | Mode | Available durations |
|---|---|---|
| Written scene description | Text-to-video | 5, 10, or 15 seconds |
| PNG, JPG, or WEBP still | Image-to-video | 5, 10, or 15 seconds |
| MP4 or MOV source clip | Video-to-video | 5 or 10 seconds |
For a new scene, write the prompt. For an established look, begin with the still. For footage whose movement or framing you want to change, use a source clip. Pick the mode that matches the material in hand, and the first generation has a clearer job to do.
Take control of the details, not just the prompt
A prompt sets the scene, but a few production choices shape the result just as much. The Create interface lets you choose duration, aspect ratio, and shot type for each generation. Built-in tools can refine a prompt or create negative prompts, and multi-shot narrative mode supports timestamped sequences. These controls give a rough idea enough structure to become a more deliberate brief.
Set duration, aspect ratio, and shot type
Duration, aspect ratio, and shot type are available for every generation. Duration affects how much action you can fit into a clip, while framing should match how you expect to view or use it. Shot type helps describe the intended view. Make those choices deliberately, since a detailed prompt cannot fully compensate for a mismatched frame or an overlong sequence.
Use prompt enhancement to sharpen a rough idea
The built-in prompt enhancer can help turn a rough description into a more specific instruction. Start with the central subject and action, then check whether the added detail still matches your intent. The prompt-building guide offers a related reference for working with prompts. Treat enhancement as a useful first pass, not a substitute for your own judgment.
Add negative prompts to steer clear of unwanted elements
Negative prompts give you a way to identify elements you want to avoid, and the platform can auto-generate them. Keep the exclusions focused: list what would visibly distract from the scene or contradict its direction. A sprawling list can muddy the brief, so review generated negatives before relying on them. A short, relevant set is easier to assess against the result.
Plan timestamped sequences for a multi-shot story
Multi-shot narrative mode lets you plan a longer cinematic sequence with timestamps. That gives each beat a place in the timeline instead of asking one prompt to carry several unrelated actions at once. For a clearer sequence, map the idea in a few beats:
- Set the opening image and establish the subject.
- Mark when the main action begins.
- Note a change in framing or camera movement.
- Give the sequence a clear ending image.
A simple beat plan makes the timestamps easier to write and the scene easier to review. Keep each moment distinct, then check that the transitions still make sense as one short story.
Keep your creations organized and under your control
Generation is only part of a useful workflow; you also need to find and manage the results afterward. The My Videos library tracks generations, offers downloads and visibility controls, and supports albums and bulk actions. Explore is a public gallery of videos their creators have set to public. A little care with library and visibility choices helps separate private working material from anything you decide to share.

Track generations and watch progress live
The library lists each generation with a status such as pending, processing, completed, failed, or expired. In-progress videos refresh automatically every 15 seconds, and a completion notification includes a thumbnail and a Watch button. Generation-time estimates are calibrated from past runs for each user. That gives you a practical way to monitor work without repeatedly reopening the Create page.
Download, hide, or delete videos from your library
You can download a completed video, change whether it is private or public in Explore, or delete it from your library. User uploads are stored privately and tied to the account, while public visibility is a separate choice for generated videos. Take a moment to check that setting before you share. The distinction is simple, but it matters.
Sort clips into albums and use bulk actions
Albums help group videos by project or another system that makes sense to you. You can create, rename, or delete albums, reorder videos with drag and drop, and add or remove clips through a context menu. Bulk selection supports deleting multiple videos or adding them to an album. Those tools keep a growing library manageable without treating every clip as a one-off.
Browse Explore for inspiration while choosing what to share
Explore displays community videos that creators have chosen to make public. You can filter by generation mode, preview clips, and open a video in a full-screen player. The gallery is useful for seeing what kinds of scenes people share, but it is public by design. Keep your own clips private unless you deliberately choose otherwise.
Get clear on credits, payments, and privacy
The credit system is pay as you go: one credit equals one second of generated video, and purchased credits do not expire. There is no subscription requirement for the listed credit packages. Cryptocurrency is supported, with BTC, ETH, USDT, and more listed as payment options. Knowing the unit price makes it easier to plan a test generation before spending on a longer clip.
See how the pay-per-second credit system works
Each second of generated video uses one credit, so a 5-second generation corresponds to 5 credits and a 15-second generation to 15. The rule makes the basic cost easy to estimate before you begin. Check your balance and any low-credit warning in the interface before starting a run. Purchased credits do not expire, so you do not have to use them on a schedule.
Compare the 100-, 500-, and 1,000-credit packages
The three package sizes have different prices and effective per-second rates. Here is the listed pricing, with each credit equivalent to one second of generated video.
| Package | Price | Effective rate |
|---|---|---|
| 100 credits | $30 | $0.30 per second |
| 500 credits | $125 | $0.25 per second |
| 1,000 credits | $200 | $0.20 per second |
The larger packages lower the effective rate, but the right size depends on how much you expect to generate. Start with the amount that fits your own use rather than buying credits just because a rate looks lower.
Pay with supported cryptocurrency without a subscription
Supported payment options include cryptocurrency such as BTC, ETH, and USDT, along with more currencies. Credit card payments are noted as coming soon in the source material, so do not count on them as an available option. The credit model is pay as you go and does not require a subscription. Review the current payment details before topping up.
Review account, upload, and visibility settings before creating
Sign-in uses Google OAuth, and your email is visible only to you inside the user menu. Uploaded files are stored privately and tied to the account; generated videos have a private or public visibility setting. Keep those details separate when deciding what to upload and what to share. For the service’s full account and data terms, review the Privacy Policy and Terms of Service linked in the footer.
Make stronger clips without wasting credits
Good prompting is less about stuffing in adjectives and more about giving each part of the scene a job. Name the subject, setting, lighting, movement, and visual style in plain language. Then use the available controls to keep the clip within a sensible length and frame. Small, deliberate choices make it easier to judge whether a generation followed your intent.
Build prompts around subject, setting, lighting, and movement
A useful prompt gives the model concrete information about what appears and what happens. You can build it from a few parts, then remove anything that does not help define the shot:
- Subject: who or what should appear.
- Setting: where the scene takes place.
- Lighting: the quality or direction of light.
- Movement: what the subject or camera does.
That structure keeps the prompt readable and gives each detail a purpose. Add a visual style when it changes the look you want, rather than piling on descriptors for their own sake.
Choose cinematic vocabulary that fits the scene
The in-app Guide covers cinematic vocabulary for lighting, time of day, shot size, composition, color grading, lens choice, and camera movement. Pick terms that clarify the result: a close shot and a wide establishing view ask for different compositions. The guide also includes prompt recipes and examples of weak prompts revised into stronger ones. Use the language that supports the scene, not the fanciest-sounding phrase.
Test short generations before committing to a longer sequence
Text-to-video and image-to-video offer 5-second generations, while video-to-video offers 5- or 10-second options. A short test can reveal whether the subject, framing, and movement are on track before you plan a longer sequence. Review the result against the prompt, adjust the part that missed, and try again only when you know what to change. This keeps iteration focused rather than spending credits on length before the idea is working.
Use the in-app Guide to troubleshoot weak results
The in-app Guide covers prompt formulas, common failure modes, cinematic vocabulary, and worked examples. If a result feels off, compare the prompt with the image or action you actually wanted: is the subject clear, is the movement specific, and do the style notes agree with one another? Fix the weakest instruction first. A focused revision is easier to evaluate than rewriting everything at once.
Conclusion
An adult video workflow works best when creative freedom comes with clear limits, practical controls, and honest privacy choices. Start with the source material you have, keep prompts specific, and check your credit and visibility settings before each generation. That leaves more room for the idea and fewer surprises along the way.
Frequently Asked Questions
What does “uncensored” mean for adult AI video creation?
It generally means the service permits adult creative content that stricter tools may filter, while still enforcing its own safety rules. Check the platform’s policy for the limits that apply.
Does anonymous use mean no account information is involved?
Not necessarily. A service may keep a public profile anonymous while still tying uploads, settings, or payment activity to an account. Read its privacy terms to understand the distinction.
What should I prepare before generating a video?
Decide on the subject, setting, lighting, movement, style, and intended framing. If you have a suitable still or source clip, that may be a better starting point than a text description.
How can I estimate the credit cost of a clip?
Check the service’s pricing unit and multiply it by the planned duration. Also review the current package prices and balance before starting a generation.
Is it safer to keep generated videos private?
Private visibility limits public exposure within the service’s sharing features, but it does not replace careful account security or a review of the privacy policy. Confirm visibility before sharing.
What makes a prompt easier for a video model to follow?
Use concrete details and separate the subject, setting, lighting, and movement. Avoid contradictory directions, and revise the specific part that did not work.
Why test a short clip before a longer sequence?
A short test can show whether the core subject and motion are working before you spend on a longer generation. It gives you a chance to adjust the prompt while the change is still easy to assess.