Blog › Uncensored male image-to-image AI: A practical guide to private adult image creation
Uncensored male image-to-image AI: A practical guide to private adult image creation
Uncensored male image-to-image AI: private adult image tips, prompts, safety, and workflow.
Key Takeaways
Private adult image creation works best when you treat the reference image, prompt, and output review as one process.
- Start with a clear, consented reference image.
- Separate still-image transformation from image-to-video animation.
- Use short prompts with stable identity details.
- Keep private media, age checks, and ownership in view.
- Track credits before making many variations or clips.
How uncensored male image-to-image AI works
Uncensored male image-to-image AI takes a source image and uses it as a visual guide for a new result. The reference can influence the subject’s face, pose, clothing, framing, and general mood, while the prompt tells the model what to change. “Uncensored” does not mean that every request is acceptable, so you still need to work within the platform’s safety rules and the law.
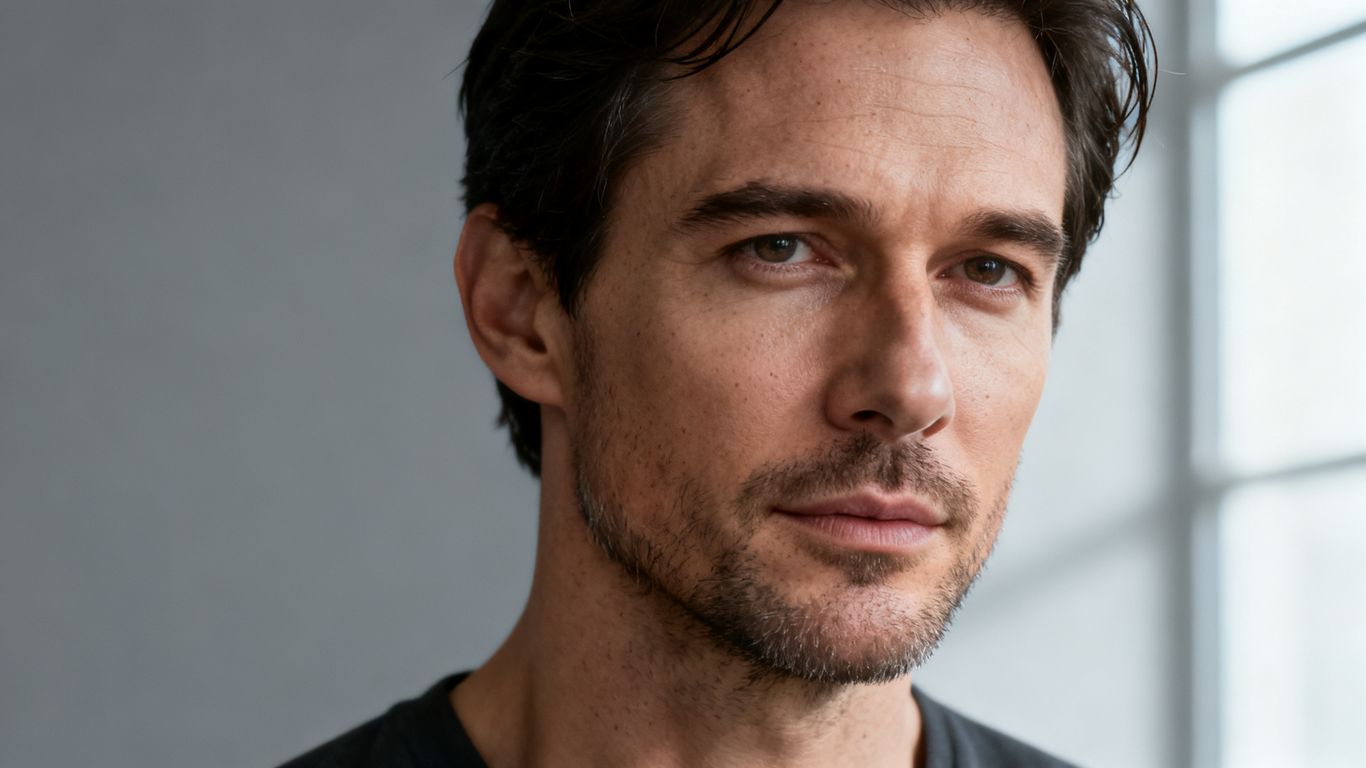
Image-to-image generation versus image-to-video animation
Image-to-image generation produces a new still image from an existing visual reference. Image-to-video animation starts with a still image and adds movement, expressions, camera motion, or scene dynamics. The two workflows can share a source image, but the prompt has a different job in each one: still generation controls the new frame, while animation describes how that frame should move.
For a longer scene, a practical workflow is to settle the character in a still first, then send that image into an image-to-video process. This avoids changing the face while you are still deciding on the motion.
How reference images influence identity and composition
A reference image gives the model visual evidence about identity and layout. A front-facing portrait with even lighting may preserve facial structure more reliably than a heavily angled photo, while a full-body image gives better information about posture and proportions. The source does not guarantee a perfect copy, so describe the details that matter most in the prompt.
Composition also follows the source. A close crop tends to produce a portrait, while a wider frame leaves more room for hands, clothing, furniture, or a full scene. If you want a major change in framing, state it directly and accept that identity may need a few rounds of correction.
What “uncensored” means within platform safety rules
In this context, “uncensored” usually means the service permits adult themes that filtered tools may reject. It does not remove the need for consent, age checks, or responsible handling of real people’s likenesses. Requests involving minors, sexualized young-looking subjects, or non-consensual intimate imagery should never be part of the workflow.
Read the relevant content policy before uploading anything. A clear boundary is useful: fictional adult characters and consensual adult scenes are one category, while exploiting a real person’s identity or creating illegal material is another.
Choosing realistic, anime, or stylized outputs
Style affects how much the model relies on photographic detail. Realistic outputs benefit from clean skin texture, natural lighting, and an uncomplicated background. Anime and other stylized outputs respond better to words describing line quality, color treatment, proportions, and the degree of realism you want.
Pick one main style per generation rather than combining several unrelated visual directions. A concise style choice, followed by subject and scene details, usually gives you more control than a long string of model names and aesthetic labels.
Preparing a source image for better results
The source image is the first quality control step. A sharp, well-lit photo gives the model more useful information than a dramatic but blurry snapshot. Before generating, decide whether you are preserving identity, changing the setting, or using the image mainly as a pose and composition guide.
A few minutes of preparation can save many failed attempts. The same habits also help when a still will later become a video, since motion systems depend on clear edges and readable anatomy.
Selecting clear, high-quality reference photos
Choose an image with visible facial features, stable exposure, and enough resolution for the intended crop. Neutral or soft lighting is often easier to work with than colored light, strong shadows, or a busy background. If the subject is a fictional character, keep several useful views available rather than relying on one unusual angle.
Avoid screenshots that contain compression artifacts, filters, or distracting overlays. A clean source gives you room to change wardrobe, setting, and mood without asking the model to repair the entire image first.
Framing the subject for different aspect ratios
Think about the final shape before you upload. A portrait ratio suits a head-and-shoulders composition, a wider ratio leaves space for a room or landscape, and a square crop works well for profile-style images. Keep the subject away from the extreme edges when you expect the model to extend the scene.
If the source is vertical but the final output is wide, describe what should appear in the added space. Otherwise, the model may fill it with unrelated furniture, extra limbs, or a background that does not match the subject.
Avoiding blur, occlusion, and inconsistent facial details
Hands covering the face, sunglasses, hair across the eyes, motion blur, and strong reflections all hide information the model needs. Check ears, eyes, teeth, fingers, and hairline before using the source. These small details often explain why one generation looks convincing while the next feels like a different person.
Use one change at a time when repairing a weak result. If you change the face, outfit, pose, lighting, and setting together, it becomes difficult to tell which instruction caused the unwanted detail.
Confirming consent and the rights to use uploaded images
Only upload images you created yourself, have permission to use, or generated as fictional artwork. Consent should cover the intended transformation, storage, and any later sharing. A private setting does not turn an unauthorized likeness into an acceptable one.
For professional work, keep a simple record of the source, permission, and intended use. That habit is especially helpful when a character is based loosely on a real model or when several people appear in one reference image.
Building effective prompts for male character images
A good prompt gives the generator a hierarchy of decisions. Start with the subject, then describe the action or pose, location, lighting, framing, and style. Specific visual direction is more useful than a paragraph full of mood words that do not change what appears in the frame.
Treat each generation as a test. If the face is right but the clothing is wrong, keep the identity language and change only the wardrobe instruction. This makes refinement faster and keeps the character recognizable across a set.
Describing appearance without overloading the prompt
Use a small group of stable identifiers: age as an adult, body type, hairstyle, hair color, eye color, facial hair, and a distinctive feature. Repeat those details in the same order each time. Do not add ten near-synonyms for the same trait, since they can compete with one another.
A useful pattern is “adult male character, [face and hair], [body type], [expression], [pose].” Add the intimate or fashion details only when they affect the scene, and keep the wording direct rather than poetic.
Controlling clothing, pose, setting, and mood
Separate the practical instructions so the model can read them clearly. State the clothing first, then the body position, environment, and emotional tone. “Seated on the edge of a bed, open shirt, relaxed gaze, warm bedroom light” is easier to interpret than a list of disconnected adjectives.
Keep anatomy plausible by describing what the hands and legs are doing. If the subject is leaning, say where the weight rests. If the scene includes another adult, define their position and relationship without leaving the model to guess who is touching whom.
Adding lighting, lens, composition, and style details
Technical language can guide the final look when it stays relevant. Try phrases such as soft window light, shallow depth of field, waist-up framing, 50mm portrait lens, low camera angle, or muted cinematic color. These terms work best after the subject and scene are already clear.
For prompt references and camera vocabulary, the Animator Hub Blog provides related guidance on adult image and video workflows. Use technical details as controls, not decoration: one lighting direction and one composition choice are usually enough for the first pass.
Using negative prompts to reduce common visual artifacts
Negative prompts can identify problems you do not want, such as extra fingers, warped hands, duplicate faces, unreadable eyes, plastic skin, poor anatomy, blur, or accidental text. Keep the list focused on visible defects rather than adding every possible failure mode.
A short negative prompt is easier to diagnose. If the output becomes too clean or loses natural texture, remove one negative term and run the same positive prompt again. That comparison tells you whether the correction helped.
Creating adult images with Animator Hub
Animator Hub is an 18+ platform with a private AI companion and Creator Studio features for building personalized characters. The companion experience supports character creation, chat, voice calls, and media generation, while the studio lets you define a character before requesting new media. Start with a fictional adult character or a reference you have the right to use.
The goal is not to make every result explicit. A consistent character can appear in portraits, outfit shots, fantasy scenes, or short clips, depending on the request and the applicable content policy.
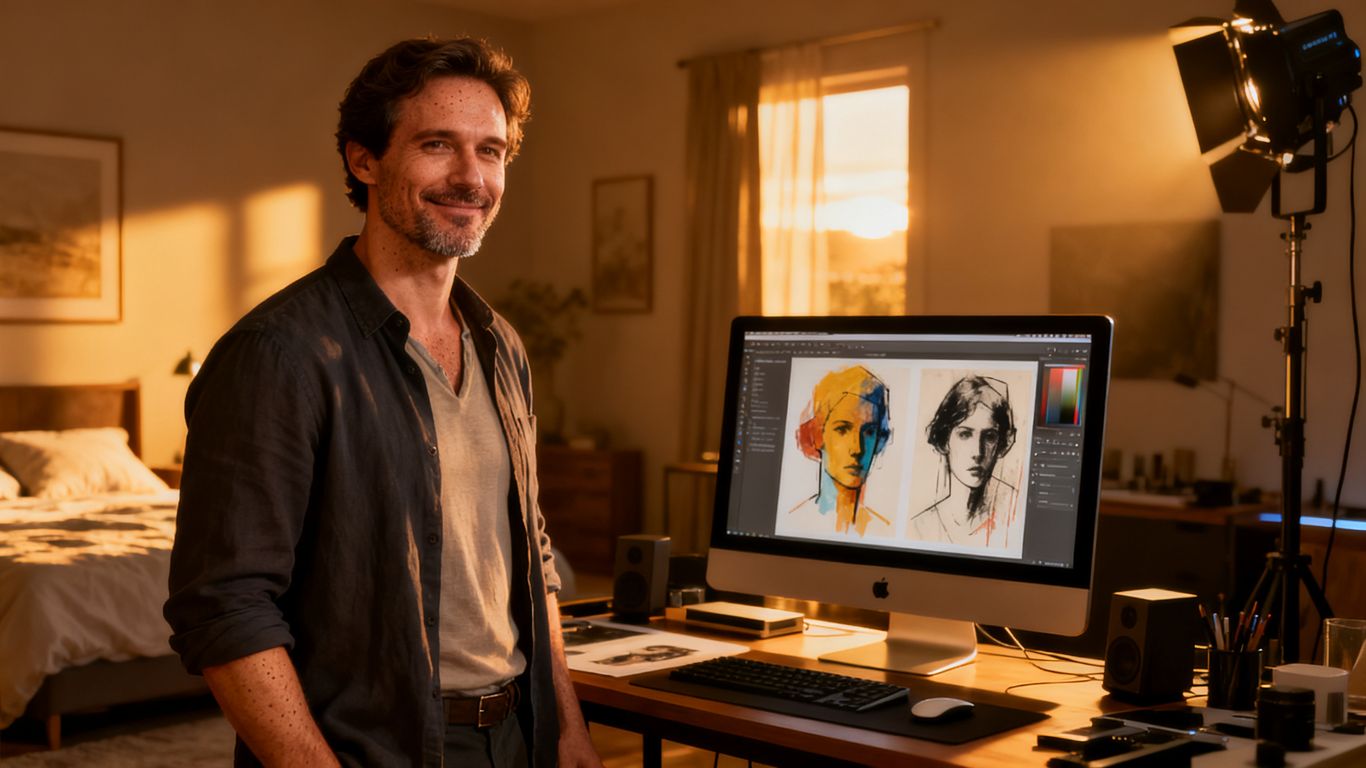
Using the private AI companion and Creator Studio features
The private AI companion can generate photos in response to a request, including a selfie, an outfit shot, or a fantasy scene. Creator Studio provides a step-by-step builder for a custom partner, with fields for appearance, identity, personality, relationship, and voice. This gives you a repeatable character foundation instead of starting from an empty prompt each time.
The companion also supports persistent conversation and media history. That can be useful when you want the character’s visual choices to follow an ongoing persona rather than a one-off description.
Choosing a realistic or anime character style
Creator Studio lets you choose between realistic and anime character styles. Pick the style before adding detailed appearance instructions, then keep later requests consistent with that choice. A realistic character benefits from photographic lighting and natural proportions, while anime requests can specify line treatment, color density, and stylized facial proportions.
For a broader look at the platform’s adult image and video workflow, Animator Hub describes generation from text, images, or existing footage for adults 18 and over. Use the style setting as the base, then let the prompt handle the scene.
Customizing appearance, personality, relationship, and voice
The character builder includes appearance fields such as body type, hair color and style, identity details, personality, relationship, and voice selection. These choices affect the companion experience, not only the visual prompt. A playful persona may call for a different expression and setting from a reserved one, even when the face stays the same.
Keep the identity coherent. If you change age, occupation, hairstyle, and relationship in every request, the character will feel unstable and the media history will be harder to organize.
Requesting private photos and fantasy scenes within the content policy
On-demand photos can cover a selfie, an outfit shot, or a fantasy scene involving the adult character. Requests should make the character’s adulthood and fictional status clear, especially when the scene is sexual. The platform’s hard limits exclude minors and CSAM, and users must pass the 18+ age gate.
Private generation is not permission to use another person’s face without consent. Keep the request focused on adults, avoid impersonation, and review the result before downloading or sharing it.
Improving consistency across generated images
Consistency comes from repetition with restraint. Pick a short identity description, preserve the same visual anchors, and change only the scene variable you are testing. A perfect match is not guaranteed, but a controlled process makes mismatches easier to correct.
Think of the character description as a reference card. It should be stable enough to reuse and short enough to edit when the character grows or the visual direction changes.
Establishing a reusable character description
Write one base description with the adult character’s face shape, hair, eyes, body type, facial hair, and signature details. Store it outside the generator so you can paste the same wording into later requests. Add scene-specific information after the base description, not inside it.
Use a label for each version, such as “portrait base” or “full-body base.” This keeps experiments separate and prevents a temporary outfit or unusual pose from becoming part of the permanent identity.
Keeping facial features, body proportions, and hairstyle stable
Repeat the details that define the character, especially hairline, haircut, facial hair, eye color, and body proportions. Keep camera distance and lighting similar while testing identity. Once the face is stable, vary the pose or setting gradually.
If the result drifts, return to the clearest reference rather than trying to fix a poor output repeatedly. A weak face can pass its errors into the next generation and make the set less coherent.
Using albums and media history to organize results
Organize outputs by character, scene, or stage of production. Albums make it easier to separate approved references from rough tests, while media history gives you a record of earlier images and videos. A simple naming convention can save time when you return to a project weeks later.
Keep private work distinct from anything intended for public sharing. Review visibility before posting, especially when an image contains a recognizable fictional persona that you plan to reuse.
Regenerating weak outputs and refining one variable at a time
Regenerate when the result has a clear defect, but do not rewrite the whole prompt automatically. Change one item such as camera angle, hand position, light direction, or clothing. Then compare the new result with the prior version.
A useful review order is face first, anatomy second, clothing third, and background last. This order protects the character’s identity while you fix the surrounding scene.
Managing privacy, age requirements, and ownership
Adult image creation needs more than a good prompt. You also need a clear account setup, sensible file handling, and a decision about where the final media may appear. Private storage reduces accidental exposure, but it does not replace careful sharing practices.
Treat every source image as sensitive until you know its permissions and destination. The same applies to generated media that resembles a real person, even if the scene itself is synthetic.
Completing the 18+ age verification gate
Use an adult-only service only if you are 18 or older and can complete its age verification step. The gate is a basic safety condition, not a technical obstacle to work around. Do not submit false information or involve anyone under 18 in the source material.
If you create content for other adults, confirm their age and consent separately. A platform gate covers access to the service, not every person represented in your project.
Understanding anonymous accounts and private media storage
An anonymous account model can limit public identity exposure, but you should still protect login access and avoid uploading unnecessary personal information. Store source files locally when possible, and remove unused references from your working folders.
Check whether generated files are tied to your account and whether they remain private by default. Privacy controls are useful only when you review them before downloading, sharing, or publishing.
Keeping generated content separate from the public Explore gallery
A private library and a public gallery serve different purposes. Keep drafts, personal scenes, and client material in the private area unless you have a reason and permission to make them public. Before sharing, inspect the visibility setting and the file itself for identifying details.
Do not assume that a link is private simply because it is difficult to guess. Send files through a channel suited to sensitive adult media, and revoke access when the project ends.
Reviewing consent, copyright, and impersonation risks
Consent should cover both the likeness and the intended sexual or commercial context. Copyright questions can arise from source photos, recognizable characters, logos, and distinctive costumes. Impersonation risk grows when a generated face is presented as a real person or used to deceive an audience.
Keep records of permissions, label fictional content honestly, and avoid making claims that suggest a real person participated. These steps protect the people involved and make your workflow easier to defend.
Planning costs and choosing a generation workflow
Credit-based tools are easiest to manage when you separate tests from final renders. Set a small trial budget, keep the prompt stable during comparison, and reserve credits for the versions you may actually use. This is especially helpful when a still image leads to several animation attempts.
The Mage guide offers a general example of an image-first workflow, while a video studio may charge by rendered duration. The right process depends on whether your finished asset is a still, a short clip, or a longer sequence built from several shots.
Comparing image credits with video-generation credits
Image and video credits often represent different units of work. In the companion credit model described for this workflow, five credits equal one image, while one credit equals one second of video. That makes a five-second clip cost five video credits before you add further variations.
| Output type | Credit unit | Practical use |
|---|---|---|
| Still image | 5 credits | Test a portrait, outfit, or fantasy scene |
| Video | 1 credit per second | Animate a selected still |
| Five-second clip | 5 credits | Make a short moving scene |
| Ten-second clip | 10 credits | Extend the same scene duration |
The table shows why image selection should happen before repeated animation. A strong still can reduce wasted video renders, while a weak still carries its identity and anatomy problems into motion.
Estimating costs before creating multiple variations
Multiply the credit cost of one output by the number of versions you expect to test. For example, ten still images at five credits each use 50 credits, and three five-second clips use another 15 credits. Add a buffer for failed attempts rather than planning down to the last credit.
Write the estimate before you start, then stop when the test has answered its question. Endless variations often change small details without improving the final asset.
Using crypto payments and monitoring the credit balance
Crypto payments are supported in the documented credit workflow, with BTC, ETH, USDT, and other options listed. Purchased credits do not expire, and the balance appears in the account interface with transaction history available on the Credits page. Check the balance before a batch rather than after several failed attempts.
For a simple batch, use this sequence:
- Record the number of stills and seconds you plan to render.
- Reserve credits for one or two correction passes.
- Check the live balance before submitting each larger batch.
- Keep the transaction record with the project notes.
This small routine makes pay-as-you-go billing easier to audit and helps prevent an unfinished scene from consuming the entire wallet.
Combining image creation with image-to-video animation for longer scenes
A still-first workflow works well for scenes that need a stable male character. Select or generate the strongest image, describe the motion in a separate prompt, and choose a short duration for the first animation test. After reviewing movement and identity, extend the scene with additional shots rather than forcing one clip to do everything.
The Animator Hub image-to-video page describes uploading a single image and generating a cinematic 1080p clip with pay-per-second pricing. Use that approach when the still already has the framing and character details you want to preserve.
Conclusion
Private adult image creation becomes more predictable when you prepare the reference, keep prompts focused, review consent and privacy, and spend credits in measured tests. Start with a strong fictional adult character or a properly licensed source, stabilize the still image, then move into animation only when the identity and composition are working.
Frequently Asked Questions
What is uncensored male image-to-image AI?
It is a workflow that uses a male reference image to guide a new generated still while allowing adult themes within the service’s stated safety rules. The result can change the setting, pose, clothing, lighting, or style while retaining selected visual traits.
Can a reference image guarantee the same face?
No. A clear image and repeated identity details improve consistency, but generative systems can still alter facial structure, hair, hands, or body proportions. Use several controlled iterations and change one variable at a time.
What makes a good source image?
A good source is sharp, well lit, free from heavy filters, and clear enough to show the face and body position. Avoid blur, face-covering objects, extreme shadows, and distracting backgrounds when identity matters.
Are adult AI images legal to create?
Legality depends on location, subject matter, consent, likeness rights, copyright, and intended use. Never involve minors, non-consensual intimate imagery, or deceptive impersonation, and check the laws that apply to your situation.
Should I use a realistic or anime style?
Choose realistic style for photographic texture and natural lighting, or anime for illustrated linework and stylized proportions. Keeping one main style per generation usually makes the result easier to control.
How can I reduce extra fingers and distorted anatomy?
Use a clear positive prompt, add focused negative terms for common defects, and avoid changing too many scene elements at once. Review hands, eyes, teeth, and body joints before accepting an output.
How should I budget for repeated generations?
Estimate the unit cost, multiply it by the number of tests, and keep a reserve for corrections. Choose the strongest still before making several video variations, since animation usually adds a separate duration-based cost.