Blog › Nude male image-to-image AI: A safe guide to adult image transformation
Nude male image-to-image AI: A safe guide to adult image transformation
Nude male image-to-image AI: safe prompts, consent, privacy, and adult workflows.
Key Takeaways
Nude male image-to-image AI can support private adult art projects when every identifiable person is an consenting adult and the source image is legally yours to use. Good results come from clear references, precise prompts, careful review, and restrained sharing.
- Use only images you own or have permission to transform.
- Confirm that every identifiable subject is an adult who agreed to the use.
- Keep prompts specific about pose, anatomy, lighting, framing, and style.
- Check generated media for visual errors and privacy risks before saving or sharing.
- Treat image-to-video as a separate workflow with different controls and outputs.
What nude male image-to-image AI means
Nude male image-to-image AI refers to a visual transformation workflow that uses a reference image and written direction to produce a changed still image. The reference can guide body position, proportions, lighting, or general composition, while the prompt sets the intended visual treatment. Because the subject may remain recognizable, consent and ownership matter from the first upload.
The process is best treated as adult visual art rather than a shortcut for altering someone else’s private photograph. A fictional subject, a self-portrait, or a clearly permitted model reference gives you a safer starting point. The more identifiable the source, the more carefully you should handle storage, access, and final publication.
How image-to-image generation differs from image-to-video
Image-to-image work produces a still result, so the main questions involve anatomy, composition, texture, and continuity within one frame. Image-to-video starts with a still image and adds movement, expressions, and scene dynamics according to a prompt. The latter also introduces time, motion, and frame-to-frame consistency, which can create new errors that are not visible in a single image.
For a clear explanation of animating a source picture, the image-to-video guide is a useful companion. It describes a workflow built around uploading one image and turning it into a cinematic video clip, rather than producing a new still.
Common creative uses for consenting adults
Consenting adults may use this kind of transformation for figure-study references, private fantasy art, character development, or a consistent series of fictional portraits. Couples can also make personal artwork from images they jointly own, provided everyone understands what will be generated and where it may be stored. A written agreement is sensible when the work involves a professional model or paid commission.
The strongest projects usually begin with a defined visual goal. A studio portrait, a classical figure study, and a cinematic character frame need different lighting, posture, and background directions. Keeping that goal clear prevents the prompt from turning into a pile of unrelated details.
Why source-image quality affects the result
A reference image gives the model visual information to interpret, not a perfect blueprint. Blurred edges, blocked limbs, harsh shadows, and unusual camera angles can be carried into the result or misunderstood. A clean image with visible posture and consistent lighting gives the system more usable structure.
This does not mean the source must be expensive or professionally photographed. A simple, well-framed image often works better than a dramatic shot with heavy filters. Clear visual information matters more than decoration when the goal is a controlled transformation.
Where AI edits can cross ethical or legal boundaries
The line is crossed when a person is depicted without permission, when a real person is made to appear nude against their wishes, or when an edit is used to impersonate, shame, threaten, or exploit someone. Consent should cover the transformation itself, not merely the original photograph. Public figures and private individuals still have privacy and publicity rights that vary by location.
Do not treat a private upload as harmless just because the output is synthetic. Keep records of permission when the work involves another person, and do not share an identifiable result without confirming that the agreement includes publication. If the situation is unclear, stop before uploading.
How to prepare a suitable reference image
Preparation has a bigger effect on control than adding more adjectives to a prompt. Select a source with a readable pose, stable lighting, and enough surrounding space for the intended composition. Before sending it anywhere, inspect the frame for names, faces in mirrors, location clues, and other details that could expose a person.
A careful preparation routine also makes testing less wasteful. You can compare outputs more fairly when the source image stays consistent and only one variable changes at a time.
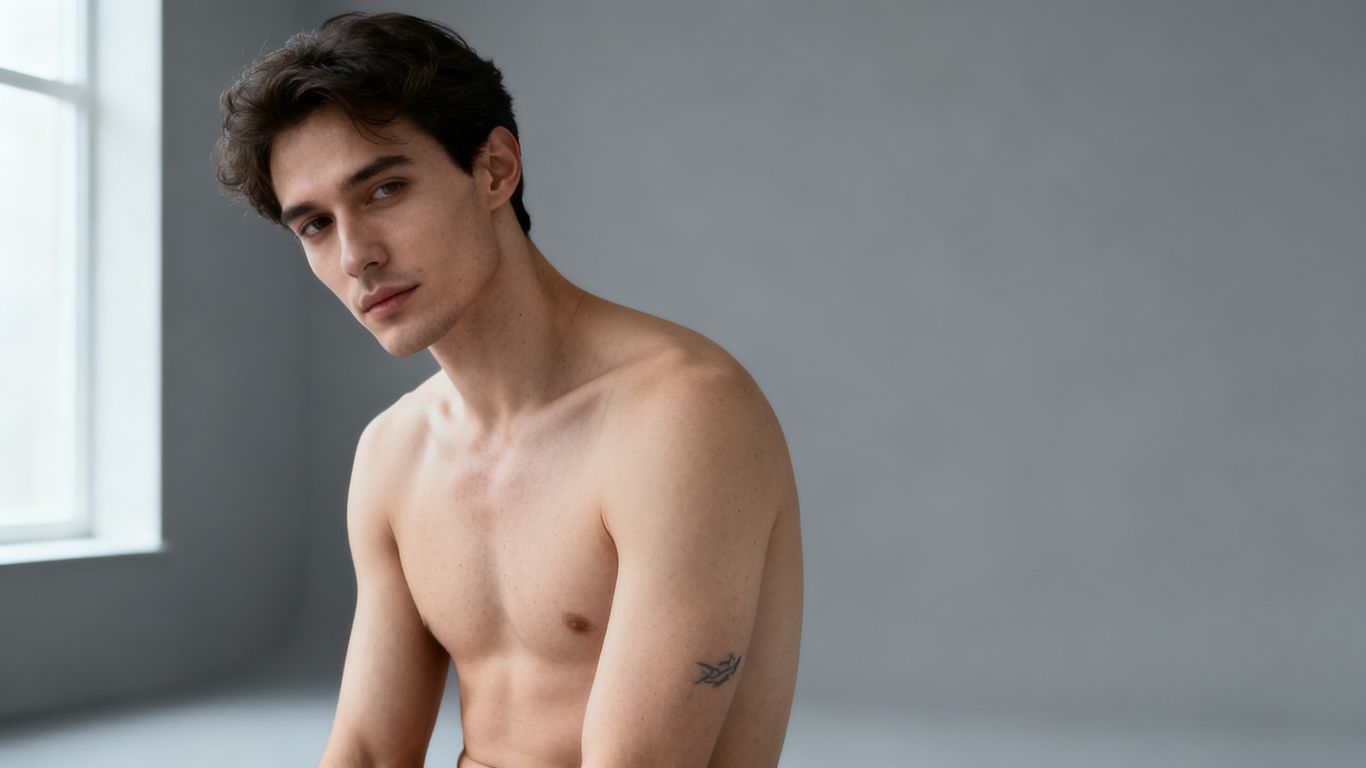
The image above suggests a low-detail, studio-like starting point: readable forms, even illumination, and no unnecessary personal context. That kind of source supports controlled experimentation without adding unrelated privacy risks.
Choosing clear poses, lighting, and composition
Choose a pose in which the major body lines are visible and the camera angle is easy to read. Soft, even illumination helps preserve contours, while a simple background gives the model fewer competing shapes. Leave enough room around the subject if you plan to change the crop or place the figure in a new setting.
Avoid filters that reshape the body or obscure hands and feet. If the final work needs a dramatic look, add that direction in the prompt after the base composition is stable.
Removing identifying details from private uploads
A source can reveal more than a face. Tattoos, jewelry, room layouts, documents, reflections, usernames, and metadata may identify someone or disclose where the image was taken. Crop or mask those details when they are not needed for the visual result, and consider using a non-identifying reference for early tests.
Privacy is also a workflow choice. Keep original files in a controlled folder, use a separate copy for uploading, and avoid placing sensitive material in shared albums or public galleries.
Matching image dimensions and aspect ratios
The intended output shape should influence the source crop. A tall portrait, a square figure study, and a wide cinematic frame each place different demands on the subject’s position and negative space. When the source and target proportions are close, fewer important areas need to be stretched or cut away.
Use a simple crop before generation rather than asking the model to solve framing, pose, wardrobe, lighting, and background all at once. A stable ratio makes prompt revisions easier to judge.
Confirming ownership and permission before uploading
Before uploading, ask two questions: do you own the image or have the right to use it, and did every identifiable adult agree to this specific kind of transformation? A casual photo from a partner is not automatic permission for nude editing. Consent should be informed, voluntary, and easy to withdraw before publication.
For outside references, keep a written release or message that states the intended use. The consent and privacy guidance offers another reminder to check rights and data handling before sending a photograph to an AI service.
How to write effective transformation prompts
A useful prompt gives the system a visual plan in plain language. Start with the subject and pose, then describe the camera position, light, environment, and desired finish. Short, ordered prompts are often easier to revise than one long paragraph filled with competing moods.
Treat each generation as a test. Change one or two instructions at a time, compare the result with the source, and keep a note of what worked. That habit gives you more control than repeatedly adding random detail.
Describing anatomy, pose, lighting, and setting
Use neutral visual terms for the body and describe the pose in relation to the camera: standing in profile, seated with shoulders turned, or reclining with one arm behind the head. State whether the lighting is soft window light, a single side source, or a low-contrast studio setup. Then name the setting and the amount of background detail.
Avoid contradictory instructions such as “soft frontal light” and “deep side shadows” in the same line. If anatomy is central, request natural proportions, believable joints, and consistent body structure rather than relying on vague praise.
Using style and camera vocabulary for consistency
Camera vocabulary can make a series feel related. Terms such as medium shot, three-quarter view, shallow depth of field, 50mm lens look, muted color grade, and soft rim light describe visible choices that can be repeated. Use the same core terms across related prompts, changing only the pose or environment.
Style should support the subject rather than obscure it. Photorealistic, painterly, monochrome, and editorial directions can each work, but mixing several unrelated styles may produce unstable textures and backgrounds.
Adding negative prompts to reduce unwanted artifacts
Negative prompts act as a short list of things to avoid. They are especially useful when a first result contains visual defects, but they cannot repair a source image that lacks the needed information. Keep the list focused on observed problems rather than adding every possible failure.
A practical negative prompt might cover extra fingers, fused limbs, duplicate body parts, warped facial features, inconsistent shadows, unreadable background objects, blur, and unwanted clothing. After each test, remove terms that are no longer relevant so the instruction stays manageable.
Refining prompts when the output misses key details
When the result misses a key detail, identify whether the cause is the source, the wording, or the selected framing. If the hands are hidden, change the reference before adding five more hand-related terms. If the pose is right but the light is wrong, preserve the pose language and revise only the lighting instruction.
A useful revision sequence is simple:
- Fix composition and camera angle first.
- Correct pose and body proportions next.
- Adjust lighting, color, and surface detail after that.
- Add setting details only when the figure is stable.
This order keeps one bad variable from hiding another. It also makes the successful prompt easier to reuse in a private series.
How to use an adult-focused AI creation workflow
An adult-focused workflow should begin with eligibility, permissions, and a clear purpose, not with the upload button. Read the service rules, confirm that every subject is 18 or older, and decide whether the result should remain private. Then choose the generation mode that actually matches the desired output.
For video work, Animator Hub provides Text-to-Video, Image-to-Video, and Video-to-Video modes for adults. Its documented workflow includes an age gate on first visit, adjustable duration and aspect ratio controls, and a credit model in which one credit equals one second of generated video.
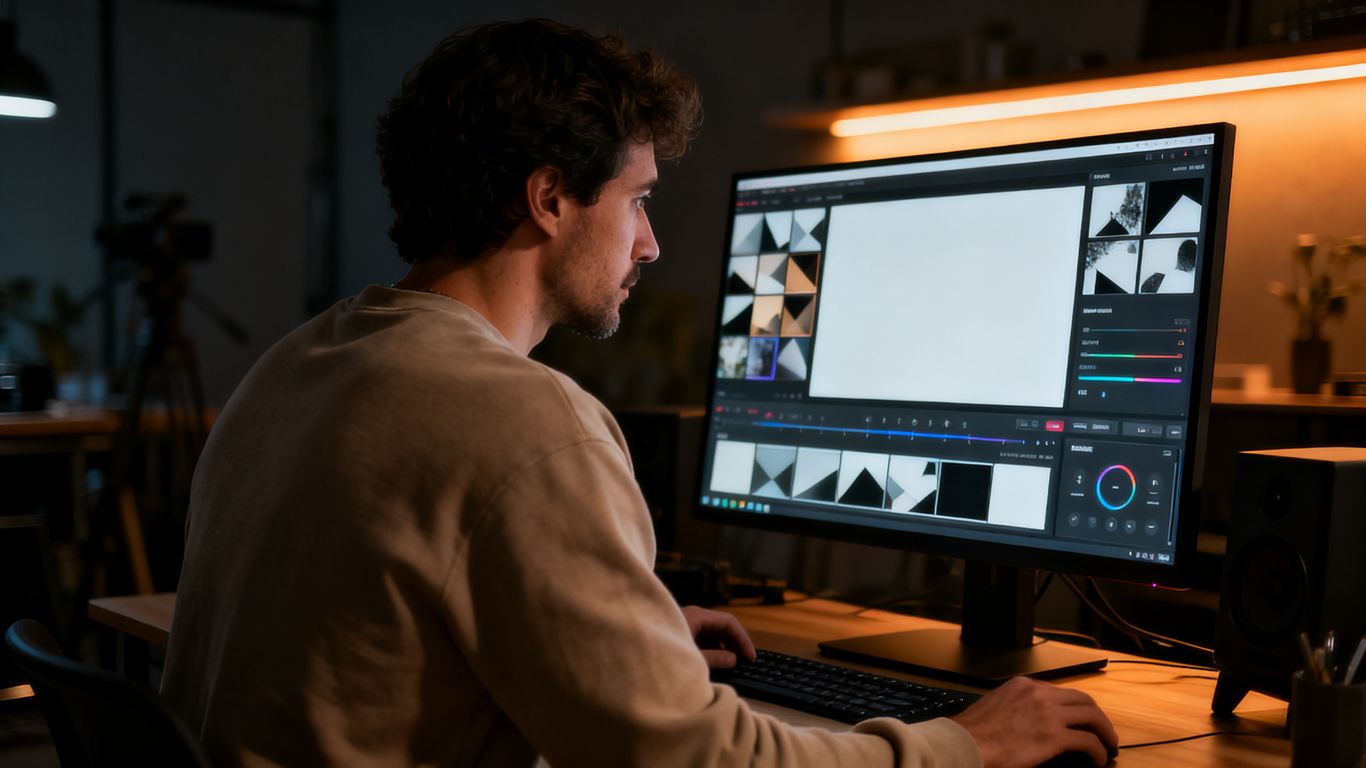
A calm review screen is part of the process. Check the selected source, prompt, duration, ratio, and visibility setting before submitting, especially when the material contains an identifiable adult.
Completing age verification and account setup
Use adult services only if you are 18 or older, and complete the age check honestly. Account setup should be paired with a review of the terms, content policy, and privacy information. If another adult appears in the source, their consent remains your responsibility even when the platform accepts the upload.
Avoid putting identifying information into prompts or filenames. A private workflow is easier to maintain when the account, source folder, and exported files are handled separately from public social profiles.
Selecting the appropriate generation mode
Choose still-image transformation when the goal is a single visual frame and motion is not needed. Choose image-to-video when you want a still source animated with movement, expressions, or scene dynamics described in the prompt. Video-to-video is a different path for transforming existing footage, while text-to-video begins without a source image.
Matching the mode to the goal reduces wasted credits and makes failures easier to diagnose. Do not upload a video when a still image contains all the information needed for the test.
Reviewing duration, aspect ratio, and output controls
Before generation, confirm the length and shape of the output. Shorter tests are useful for checking whether motion, framing, and subject continuity behave as expected. A ratio that matches the source also helps preserve the original composition.
Animator Hub documents 5, 10, and 15 second options for Image-to-Video, with the preview adapting to the uploaded image’s true aspect ratio. Review those controls before submitting so the result fits the intended use and the credit cost is clear.
Regenerating failed or expired results
A failed or expired result does not always mean the prompt is unusable. First check the source format, prompt contradictions, and selected controls. Then make one deliberate change rather than submitting the same request repeatedly.
The platform documentation says failed or expired videos can be regenerated with the original prompt, duration, ratio, and negative prompt pre-filled. That can save time during troubleshooting, but the regenerated result still needs a fresh privacy and quality review.
Privacy, consent, and content-safety considerations
Adult freedom does not remove the need for boundaries. A synthetic nude can still expose a real person, reproduce private details, or cause harm if shared without agreement. Use fictional subjects or fully consenting adults, and keep the intended audience clear before creating anything identifiable.
The safest standard is straightforward: no minors, no ambiguous ages, no coercion, and no transformation of another person’s image without explicit permission. When a request involves a real person, pause and verify the rights before proceeding.
Getting explicit consent from every identifiable adult
Consent should come from every adult who can be recognized in the source or output. Explain that the image may be transformed into nude or sexually explicit material, say where it will be stored, and state whether it may be downloaded, shown privately, or published. A general agreement to take photographs is not enough.
Keep the permission record with the project notes, but do not store more personal information than necessary. If consent is withdrawn, stop sharing and remove accessible copies where possible.
Never depicting minors or ambiguous-age subjects
Never create sexual or nude media involving a minor, a person who may be a minor, or a character whose age is unclear. This includes fictional, altered, and photorealistic material. Avoid youthful styling, school settings, childlike proportions, and prompts that make age uncertain.
If the subject’s adult status cannot be established, do not continue. No visual result is worth taking that risk.
Avoiding non-consensual nudification and impersonation
Do not turn a clothed photograph of an unwilling person into a nude, and do not use a face or body to suggest that someone performed an act they did not perform. Impersonation can harm reputations even when the image is labeled synthetic. Consent must cover both the transformation and the way the output is presented.
Use fictional identities for experimental work and remove recognizable details when identity is not part of the artistic goal. Do not rely on a disclaimer to repair an abusive or misleading use.
Understanding private storage, visibility, and deletion options
Check whether uploads and results are private by default, who can access them, and how deletion works. Keep downloaded files in encrypted or access-controlled storage when possible. Remove duplicate exports and temporary files from devices that other people can access.
Animator Hub documents private user-uploaded files tied to the account, along with controls to download, hide, delete, or make generated videos public in Explore. Those settings still require an active choice, so review visibility before sharing a link or posting a result.
Reviewing the platform’s content policy and terms
Read the current content policy, terms of service, and privacy policy before using an adult platform. Rules can define prohibited subjects, account obligations, retention, takedown procedures, and public-gallery behavior. Save a copy of the relevant policy if the project is professional or collaborative.
A permissive adult policy is not permission to ignore local law or another person’s rights. Platform access and ethical use are separate questions, and both need a clear answer.
Comparing image-to-image tools with Animator Hub
Image-to-image and image-to-video solve related but different problems. The first changes a still frame, while the second adds time and movement to an existing visual. Animator Hub is documented as an AI video generation platform that accepts text, still images, or existing video sources, so it fits the animation side of this comparison rather than serving as a claim about a dedicated nude still-image editor.
The choice depends on what you want to inspect. If you are judging anatomy in one frame, a still workflow may be enough. If you want to see a consenting adult character move through a short scene, image-to-video gives you a different kind of result.
What Animator Hub supports through image-to-video generation
Animator Hub’s Image-to-Video mode accepts PNG, JPG, or WEBP still images and applies natural motion, expressions, and scene dynamics described in the prompt. It offers 5, 10, or 15 second durations, and its preview tile adapts to the image’s true aspect ratio. These are video controls, not promises about generating a new still nude image.
That distinction helps set expectations. Start with a source that already has the pose and visual identity you want, then describe only the movement and scene behavior that should be added.
When animating a still image is better than creating a new image
Animation is useful when the source frame already has the right subject, composition, and mood. It can preserve the starting image while adding a glance, a shift in posture, camera motion, or environmental movement. A new still is more suitable when the anatomy, setting, or body position needs a fundamental change.
Use the least complicated mode that can answer your creative question. A short animation test can reveal whether the source holds together in motion before you spend time on a longer sequence.
Using private libraries and albums to organize results
Organization matters when you generate multiple versions of a personal project. Keep test clips separate from approved exports, label them by prompt revision, and remove files that no longer serve a purpose. Albums can also help distinguish work that is ready for private viewing from work that should never be shared.
Animator Hub documents a private video library with albums, bulk actions, drag-and-drop ordering, and individual deletion. Those tools support practical housekeeping, but they do not replace consent records or a careful decision about who should see the media.
Understanding credits, durations, and pay-as-you-go pricing
A per-second model makes duration part of the creative decision. A short test costs less than a longer render, so begin with the smallest duration that can show whether the motion and framing work. Check the current credit balance before submitting several variations.
Animator Hub documents pay-as-you-go pricing with one credit equal to one second of generated video, and purchased credits do not expire. The documented packages are 100 credits for $30, 500 for $125, and 1,000 for $200. Confirm the current pricing page before purchase because payment details can change.
Improving quality while protecting personal data
Quality review and privacy review belong in the same final pass. A polished image can still reveal a tattoo, room, face, or filename that the subject did not agree to publish. Likewise, a private file can still be visually poor if anatomy, hands, lighting, or background continuity drift during generation.
Work in stages, keep early tests low-risk, and reserve the final export for a result that meets both the visual brief and the consent agreement. This is where a professional workflow earns its value.
Checking anatomy, hands, faces, and background continuity
Inspect hands, joints, fingers, facial features, skin edges, reflections, and shadows at full size. In a video, watch the first, middle, and final moments for sudden changes in body structure or background geometry. If the source contains a recognizable person, check that the output does not create a misleading expression or action.
Do not publish merely because the thumbnail looks good. A slow frame-by-frame review catches defects that are easy to miss in a small preview.
Using lower-risk test prompts before final generations
Start with a non-identifying source or a less sensitive version of the scene. Test the camera angle, lighting, ratio, and movement before introducing the final reference. This approach protects personal data while you learn whether the prompt structure works.
Keep tests short and change one variable at a time. A failed test is easier to discard when it contains no face, tattoo, bedroom, document, or other private clue.
Downloading, hiding, or deleting completed media
Download only the files you intend to keep, and store them where access is limited. Hide results that should not appear in a public area, and delete failed or unnecessary versions instead of letting them accumulate. Check device backups and shared folders too, since deleting a platform copy may not remove every local duplicate.
A simple file routine helps: review, rename without personal details, move to protected storage, and delete temporary copies. Keep the consent record separate from the media if it contains identifying information.
Managing public sharing and Explore gallery visibility
Public sharing should be an affirmative decision, never an accidental default. Before making a result visible, ask whether the subject agreed to public distribution, whether the image could identify a real person, and whether the prompt or thumbnail exposes private context. If any answer is uncertain, keep it private.
Animator Hub documents an Explore gallery for community videos that creators set to public, alongside controls for private or public visibility. Use those controls deliberately, and remember that a public upload may be copied even after you remove it.
A short educational video about consent, private AI media workflows, and image-to-video prompting can be useful alongside hands-on testing. Choose a source that explains responsible adult creation rather than presenting unauthorized nudification as a harmless trick.
Conclusion
Nude male image-to-image AI is best approached as a controlled adult art workflow: use a lawful reference, obtain explicit consent, write a focused prompt, review every result, and protect the finished files. When the goal shifts from a still transformation to motion, choose an image-to-video process and keep its duration, visibility, and credit settings in view.
Frequently Asked Questions
Can I transform a nude reference image with AI?
You can work with a nude reference when you own it or have permission to use it, and every identifiable adult has agreed to the intended transformation and storage. Check the service rules and local law before uploading.
Is image-to-image the same as image-to-video?
No. Image-to-image produces a changed still, while image-to-video uses a still source to create movement over time. Video adds motion consistency, duration, and frame-by-frame review to the process.
What makes a reference image suitable?
A suitable reference has a clear pose, readable lighting, useful composition, and no unnecessary identifying details. Matching the source crop to the intended output ratio can also reduce unwanted distortion.
How can I reduce visual artifacts?
Use specific language for pose, anatomy, camera position, lighting, and setting. Add a focused negative prompt for observed issues, then revise one variable at a time instead of changing the whole request.
Should I remove identifying details before uploading?
Yes, when those details are not needed for the result. Crop or mask faces, tattoos, reflections, documents, room clues, usernames, and metadata when appropriate, and use a separate upload copy.
Can a clothed photo be changed into a nude without permission?
No. Transforming an identifiable person into nude or sexual media without explicit permission is non-consensual and can cause serious harm. Use fictional subjects or images covered by clear adult consent.
What should I check before sharing a generated result?
Review consent, age, identity, anatomy, background clues, filenames, and the selected visibility setting. If the subject did not agree to public distribution or the result could mislead viewers, keep it private or delete it.