Blog › NSFW male text-to-video AI: A complete guide to creating private adult videos with Animator Hub
NSFW male text-to-video AI: A complete guide to creating private adult videos with Animator Hub
NSFW male text-to-video AI guide for private adult clips, prompts, credits, and safe workflows.
Key Takeaways
Adult video generation works best when the idea, prompt, and usage rules are clear from the start.
- Define an adult male subject, setting, mood, and action before generating.
- Use camera, lighting, motion, and negative-prompt details to guide each clip.
- Choose text-to-video, image-to-video, or video-to-video based on your source material.
- Keep files private, track credits, and review every finished generation.
- Use only fictional adults or likenesses you have permission to use, with no minors or non-consensual scenarios.
Understanding NSFW male text-to-video AI
NSFW male text-to-video AI turns a written adult scene description into a short moving clip. The strongest results come from treating the prompt like a compact shot brief rather than a list of disconnected keywords. You control the subject, environment, action, framing, and visual style, while the generator fills in the motion between those instructions. For adult work, privacy, consent, and age restrictions belong in the workflow from the first prompt.
What text-to-video generation can create
Text-to-video generation can produce short clips from plain-language descriptions of an adult male subject, a location, lighting, movement, and visual style. A prompt might describe a fictional adult man in a private bedroom, a slow camera push, warm window light, and a realistic or anime treatment. The more clearly the scene progresses, the less room there is for random changes between frames.
The goal is not to describe every pixel. Give the model a stable subject and one readable action, then add a few visual choices that support that action. A short clip with one clear beat often feels more coherent than a crowded prompt with several unrelated events.
How Animator Hub supports adult creators
Animator Hub is an 18+ AI video and image generation platform that creates 1080p videos from text, images, or existing video sources. Its documented generation modes are Text-to-Video, Image-to-Video, and Video-to-Video, with controls for aspect ratio, duration, and shot type. The platform uses a pay-as-you-go credit system and is designed for anonymous use.
For a first test, begin with a five-second text prompt and keep the action simple. Once the subject and movement look stable, extend the concept with a reference image, a different ratio, or a longer duration where the selected mode allows it.
Choosing between realistic and anime styles
Realistic and anime styles call for different prompt language. Realistic clips benefit from terms such as natural skin texture, practical room lighting, shallow depth of field, and restrained camera motion. Anime clips need clearer illustration cues, line quality, cel shading, expressive poses, and controlled color choices.
Do not mix too many style directions in one request. A realistic photographic treatment and a flat cel-shaded treatment can pull the visual result in opposite directions. Pick one primary style, then use lighting and camera terms that belong with it.
Why age verification and consent matter
Adult generation still requires adult responsibility. Use fictional adults or real people whose likeness and participation are authorized, and never include minors, sexualized age ambiguity, or non-consensual situations. Age verification is not a minor detail: Animator Hub requires users to be 18+ and confirm their age at the first visit.
A useful rule is simple: if you would need to explain away the subject’s age, identity, or permission, revise the idea before generating. Keep the scenario clearly adult, consensual, and within the platform’s content policy.
Planning an effective video concept
A good clip begins before the prompt box. Decide who the adult male subject is, what he is doing, where the action takes place, and what emotional tone the shot should carry. Then choose a duration and frame shape that fit the intended use. Planning these basics reduces wasted generations and gives later revisions a clear target.

Defining the male subject and appearance
Start with a fictional adult male subject and describe only the traits that need to remain visible. Age range, body type, hair, facial hair, clothing, posture, and expression are useful anchors. Place the most important identity details near the beginning of the prompt so they are not buried under camera language.
Avoid changing several identity traits between attempts. If one version has short dark hair and another has long blond hair, it becomes difficult to tell whether a motion change helped. Keep a small subject description saved beside the project and revise one variable at a time.
Choosing the setting, mood, and relationship dynamic
The setting gives the model visual context, while mood guides posture, light, and pacing. A private apartment, hotel room, studio, or outdoor location can each support a different kind of adult scene. Relationship language should describe consenting adults and a clear dynamic, such as flirtatious partners, a confident lover, or a playful couple.
Keep the emotional direction consistent. A tender, slow scene needs different movement and lighting from a forceful, high-energy performance. If the setting, mood, and relationship dynamic agree, the clip usually feels more intentional.
Selecting duration, aspect ratio, and shot type
Duration and framing affect how much action can fit on screen. A five-second clip is suited to one gesture or camera move, while ten or fifteen seconds can support a brief progression when available. A vertical ratio works for phone-first viewing, while a wider frame gives more room for full-body movement and environmental detail.
Use the shot type to set the viewer’s distance. A close-up favors expression and identity, a medium shot balances the subject with gestures, and a wide shot gives the environment more weight. The right choice is the one that makes the main action easy to read.
Building a clear beginning, action, and ending
Even a short adult clip benefits from a three-part beat. The beginning establishes the subject and pose, the middle shows one action, and the ending settles into a final expression or position. This structure helps prevent the subject from changing direction halfway through the render.
A practical outline can stay very small:
- Beginning: the adult male subject faces the camera in a stable pose.
- Action: he makes one slow, clearly described movement.
- Ending: the camera settles as his expression and posture hold.
After writing those three beats, remove any action that competes with the main one. The result should read like a single shot, not a compressed storyboard with too many cuts.
Writing prompts for better results
Prompt writing is less about length than about order and agreement. Put the subject first, then the place, action, lighting, camera, and style. Use concrete words that describe visible events rather than abstract intentions. The Animator Hub Blog offers related guidance on aspect ratios, private generation, and adult video workflows when you want more examples.
Using subject, environment, lighting, and camera details
A reliable prompt structure is: adult subject, appearance, setting, action, lighting, camera movement, shot size, style, and output mood. For example, you might specify a fictional adult man with close-cropped hair in a softly lit bedroom, turning toward the camera, with a slow dolly-in and realistic cinematic detail.
Keep each detail compatible with the others. A low-light room, bright midday shadows, and a flat studio background in the same sentence create competing visual instructions. Clear prompt order matters because it helps separate identity from atmosphere and movement.
Adding motion and cinematic vocabulary
Motion terms tell the generator what should change over time. Try slow dolly-in, gentle head turn, shifting weight, rising chest, walking toward camera, or a controlled camera orbit. Cinematic terms such as close-up, medium shot, shallow depth of field, rim light, and practical lighting help define how that movement is seen.
Use one main camera move and one main subject action for a short clip. If both the camera and subject move quickly, the model has more chances to lose anatomy, framing, or identity. Deliberate pacing is often more useful than adding another dramatic adjective.
Controlling tone without creating conflicting instructions
Tone should guide the whole scene, not fight the physical action. Words such as intimate, confident, playful, romantic, or intense can be useful when paired with a visible behavior. Avoid asking for gentle movement and frantic energy at the same time, or for a still portrait and a fast tracking shot in one short generation.
Write the prompt once, then read it as a director would. Can a person understand what happens first and what happens next? If not, simplify the tone and keep the action visible.
Using negative prompts to reduce visual errors
Negative prompts are useful for common generation problems, including extra fingers, warped hands, duplicate limbs, unstable faces, broken anatomy, flicker, unwanted text, and abrupt camera jumps. They work best when they address an actual weakness in the current result rather than listing every possible defect.
The negative prompt should support the positive prompt. If the scene needs a full-body shot, remove terms that could force an overly tight crop. If the subject must turn slowly, flag rapid motion and severe motion blur rather than banning all blur.
Improving weak prompts with the built-in enhancer
When a prompt feels vague, the built-in enhancer can help expand it into more structured visual instructions. Start with the core idea, review the enhanced wording, and check that it still describes an adult, consensual scene. Do not accept added details automatically if they change the subject, mood, or setting.
The enhancer is most useful as a starting point for revision. Keep the parts that clarify lighting, composition, and movement, then remove anything that creates a second story inside the same clip.
Creating videos with Animator Hub
The creation workflow can begin with words, a still image, or existing footage. Each source changes how much of the subject and composition is already defined, so select the mode that matches the material you have. Keep source files lawful and authorized, especially when a real person’s likeness appears. Generation status and completed clips can then be handled from the platform’s video library.
Generating a clip from text
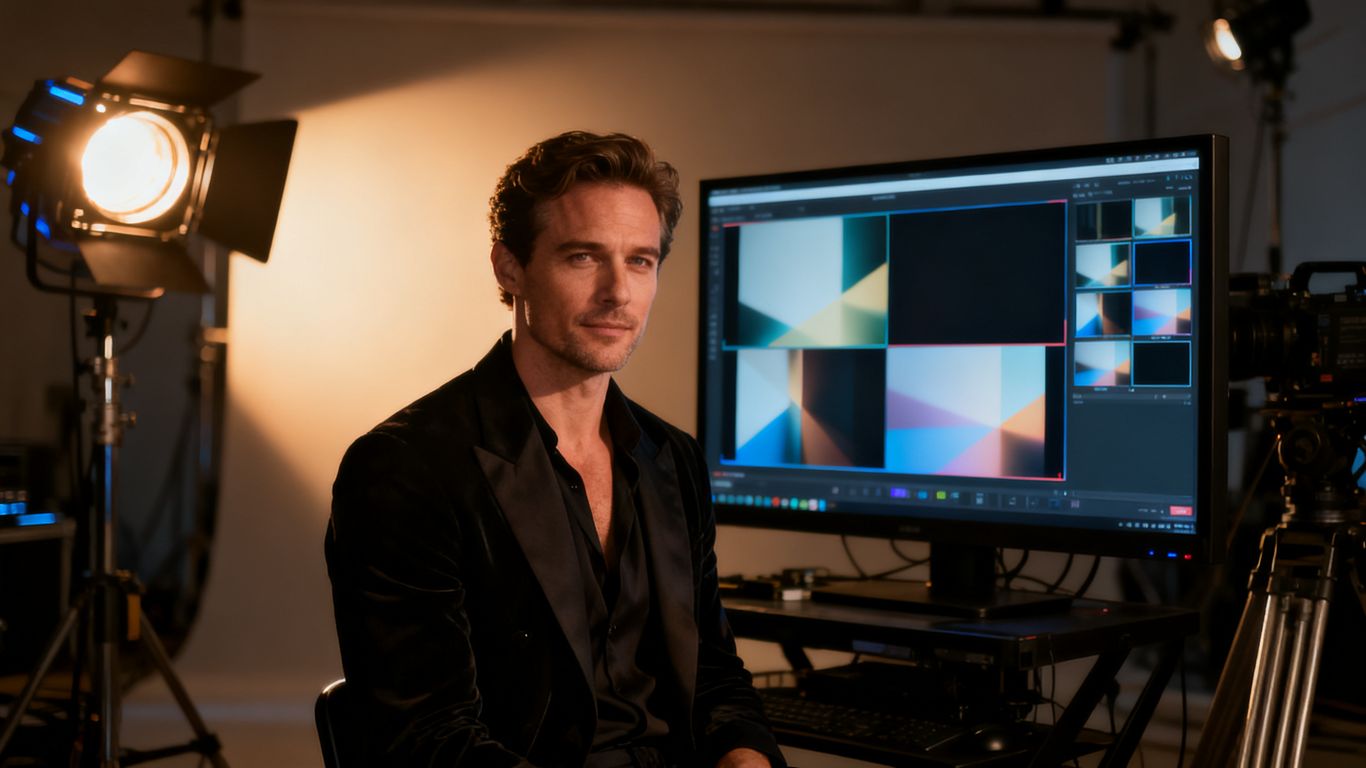
Text-to-Video accepts a plain-language description and supports prompts that include subjects, environments, lighting, camera movement, and style. Available durations are 5, 10, or 15 seconds. Select the aspect ratio and shot type before submitting, then compare the result with the original shot brief rather than judging it only by whether it looks attractive.
If the clip misses the main action, shorten the prompt and move the action closer to the beginning. If the subject is stable but the mood is wrong, change the lighting or tone terms without rewriting the identity description.
Animating a reference image
Image-to-Video uses a PNG, JPG, or WEBP still image and applies motion, expressions, and scene dynamics described in the prompt. This mode can be a useful choice when a male character’s face, clothing, or pose already looks right in the source image. Available durations are 5, 10, or 15 seconds.
Describe the movement you want to add without asking the image to become a completely different scene. A small head turn, breathing motion, camera push, or change in expression is easier to assess than several simultaneous transformations.
Transforming an existing video
Video-to-Video accepts up to three MP4 or MOV source clips, each 2 to 30 seconds and no larger than 100MB per file. The documented controls include style changes, scene modification, restyling footage, and changes to clothing or environments. Output durations for this mode are 5 or 10 seconds.
Use a source clip with clear motion and stable framing. If the original footage already contains fast cuts, heavy blur, or an obscured face, the transformation has less visual information to follow. A clean source makes it easier to judge what the new style or environment changed.
Using multi-shot narrative mode for longer sequences
Multi-shot narrative mode is intended for longer cinematic sequences planned with timestamps. Break the sequence into distinct shots, giving each one a location, subject position, action, and transition point. This keeps a longer idea from becoming one overloaded prompt.
Write down the identity details that should repeat across shots. The same hair, clothing, body type, and lighting logic can help the sequence feel connected, even when the camera angle or setting changes.
Monitoring generation progress and estimated completion time
The video library shows statuses such as pending, processing, completed, failed, and expired. In-progress videos refresh automatically every 15 seconds, while a per-user generation-time calibration provides an estimated completion time based on past runs. A completion notification includes a thumbnail and a Watch button.
Use the waiting period to review the next prompt or prepare a source file, but avoid submitting duplicate versions before checking the first result. A short pause can save credits when the original generation is still processing.
Managing privacy, files, and finished videos
Privacy is part of adult production, not an afterthought. Before uploading a reference, check what it contains and whether you have permission to use it. After generation, review visibility settings and keep personal projects separate from anything intended for public sharing. A tidy library also makes it easier to find a successful version later.
Keeping generated media private
Uploaded files are stored privately and tied to the account, and generated videos can be kept private or made public in the Explore gallery. Use private visibility for personal work, client material, or tests that are not ready to share. Treat links and downloaded files with the same care as the original source.
Privacy settings cannot replace consent. A private upload is still inappropriate if it contains someone’s likeness without authorization, so confirm permission before using real-person material.
Organizing clips in My Videos and albums
My Videos provides a private library for reviewing generations, while albums help group clips by project, character, scene, or revision. Albums can be created, renamed, deleted, and reordered with drag-and-drop organization. Videos can also be added or removed through the context menu.
Use a simple naming habit outside the platform as well. Label files with the character, shot number, ratio, and prompt version so a promising result does not become difficult to trace.
Downloading, hiding, sharing, or deleting generations
Completed videos can be watched, downloaded, shared, hidden, or deleted. Visibility controls are especially useful when a project moves from private testing to a public release. Bulk selection also supports deleting several videos or adding several videos to an album at once.
Download only the versions you may actually use, and delete failed experiments when they no longer have value. Keeping fewer, better-labeled files makes the library easier to manage.
Regenerating failed or expired videos
Failed or expired videos can be regenerated with one click. The Create page is pre-filled with the original prompt, duration, ratio, and negative prompt, which gives you a consistent base for the next attempt. Review the prior failure before submitting again, since a small prompt or source change may be more useful than a blind repeat.
If the same issue appears twice, change one factor at a time. Try a simpler action, a steadier source, or a different shot size so you can identify what actually helped.
Understanding anonymous accounts and private storage
The account model is anonymous by design, with no public profile, display name, avatar, or public identity. Email is visible only to the account owner inside the user menu, and public pages do not display personal identifying information. Google sign-in is available, but the public experience does not expose a social profile.
That setup supports private adult projects, but normal account hygiene still matters. Use a secure login, protect downloaded files, and avoid sharing access with people who should not see the library.
Managing credits and responsible adult use
A pay-as-you-go system makes each generation easier to estimate before submission. Credit planning is still necessary because testing several prompts can add up, especially with longer clips. Pair a clear budget with a clear content boundary so experimentation stays deliberate and lawful.
How the pay-per-second credit system works
The documented pricing rule is 1 credit for 1 second of generated video. A five-second video uses five credits, while a fifteen-second video uses fifteen credits, before you consider how many attempts the project needs. Purchased credits do not expire, and the current balance appears in the navigation bar.
The platform also warns about low credits before generation begins. Check the balance before a testing session and reserve enough for at least one revision rather than spending everything on the first pass.
Comparing credit packages and generation lengths
The available packages use the same per-second rule while offering different effective rates. This table helps connect package size with practical testing capacity:
| Package | Price | Effective rate | Approximate 5-second clips |
|---|---|---|---|
| 100 credits | $30 | $0.30 per second | 20 |
| 500 credits | $125 | $0.25 per second | 100 |
| 1,000 credits | $200 | $0.20 per second | 200 |
These figures describe maximum five-second generations with no failed attempts or longer clips. Use them as rough planning numbers, then keep a portion of the balance for revisions and alternate ratios.
Using cryptocurrency payments and transaction history
Cryptocurrency payments are supported through BTC, ETH, USDT, and more, while credit card payments are listed as coming soon. The Credits page shows the wallet balance, package options, and transaction history with dates, amounts, and statuses. Real-time confirmation polling updates the account after a payment starts.
Save transaction details according to your own records policy. Privacy-focused payment does not mean a creator should lose track of expenses, project budgets, or account access.
Following the platform’s content restrictions
The platform allows unrestricted adult content creation within its stated safety rules. Users must be 18+ and verify age on the first visit. Content involving minors and CSAM are prohibited, and the full Content Policy, Terms of Service, and Privacy Policy are linked from the site footer.
Read those rules before publishing a project, especially when a scene includes a real person, a recognizable identity, or material supplied by someone else. The clearest adult workflow is also the easiest to review later.
Avoiding minors, non-consensual scenarios, and unauthorized likenesses
Every subject should be an adult, and every real-person likeness should be authorized. Do not use age-coded school settings, youthful ambiguity, coercion, hidden-camera framing, or scenarios where consent is absent. Fictional adult characters are usually easier to keep within a clear boundary.
If a prompt feels uncertain, rewrite it until the age, consent, and identity are explicit. Responsible adult use protects the people represented in the work and keeps the project aligned with the platform’s rules.
Improving results through testing and iteration
Good generations rarely come from changing everything at once. Treat each attempt as a small test: keep the subject stable, adjust one visual variable, and record what changed. This approach helps separate prompt problems from source-image problems and makes successful results easier to repeat.
Comparing prompts across different generation modes
The same concept can behave differently in Text-to-Video, Image-to-Video, and Video-to-Video. Text-to-Video gives you the most control over a fresh scene description, Image-to-Video starts with a defined still, and Video-to-Video begins with existing movement and composition. Compare modes by keeping the core subject and action similar.
A useful test uses one short prompt, one reference image where appropriate, and one source clip only when transformation is the goal. The comparison should answer a specific question, such as which mode keeps the face steadier or which one handles a camera move better.
Refining camera movement and subject consistency
Camera movement should have a clear speed and direction. Slow push-in, fixed tripod, gentle pan, and controlled orbit are easier to evaluate than vague requests for cinematic movement. Keep the subject’s key features unchanged while you test the camera, otherwise identity changes can hide the effect of the new movement.
If the face drifts, reduce the action and return to a closer shot. If the body becomes unstable, try a medium frame before attempting a full-body movement sequence.
Fixing anatomy, motion, and identity issues
Anatomy errors often appear when a prompt asks for too many poses, fast gestures, or overlapping actions. Break the movement into one beat, use a steadier camera, and add targeted negative prompts for the visible problem. Identity issues may require a stronger reference image or fewer changes to hair, clothing, and facial expression.
Review the clip frame by frame when possible. A result can look fine at normal speed while revealing a warped hand or shifting face during a pause, and that detail should guide the next revision.
Using the Explore gallery for inspiration
The public Explore gallery contains community videos that creators have chosen to make public. It supports filtering by generation mode and shows prompt overlays and duration badges on previews. Use it to study framing, pacing, and prompt structure, not to copy another creator’s private idea or likeness.
The gallery is most useful when you ask a narrow question: how are creators handling vertical framing, a close-up, or a slow camera move? Bring the observation back to your own subject and consent-safe concept.
Applying a repeatable workflow for future projects
A repeatable workflow can be as simple as concept, prompt, test, review, revision, and archive. Save the successful prompt, negative prompt, source image, ratio, duration, and generation mode together. That record turns a one-off result into a starting point for the next scene.
Keep a short note about what failed as well. Knowing that a fast orbit caused identity drift or that a crowded room created anatomy errors prevents the same credit spend next time.
Conclusion
Creating private adult video clips works best when creative freedom is paired with clear prompts, patient testing, careful file handling, and firm consent boundaries. Start with one adult subject and one readable action, choose the generation mode that fits your source, and revise with purpose instead of guessing. A thoughtful workflow gives you more control over both the final image and the privacy around it.
Frequently Asked Questions
What is NSFW male text-to-video AI?
It is a generative video workflow that turns a written description of an adult male subject, setting, action, and visual style into a short video clip.
What should an adult video prompt include?
Include the adult subject’s appearance, environment, action, lighting, camera movement, shot size, style, and a small set of negative prompts for likely visual errors.
Is image-to-video better than text-to-video?
Neither is always better. Text-to-video suits a new scene, while image-to-video is useful when a still image already establishes the character’s appearance and pose.
How can I keep a generated character consistent?
Keep identity details stable, use a clear reference when available, limit the number of simultaneous actions, and change one prompt variable per test.
How long should a first test clip be?
A short five-second test is usually a sensible starting point because it lets you evaluate identity, motion, framing, and tone before spending credits on a longer sequence.
Can adult AI videos use a real person’s likeness?
Only when you have clear authorization and the scenario is lawful and consensual. Never use a person’s likeness for sexual content without permission.
What content should never appear in an adult AI video?
Do not include minors, CSAM, coercive or non-consensual scenarios, or unauthorized intimate likenesses. Keep every subject clearly adult and every scenario consent-based.