Blog › How to use an AI image to video generator for adults to create cinematic clips
How to use an AI image to video generator for adults to create cinematic clips
Plan prompts, prepare images, and create cinematic clips with an AI image to video generator for adults.
Key Takeaways
A good image-to-video clip starts with a clear source image and a focused idea for motion. Keep the scene simple, then adjust the prompt and framing based on what the first result gets right or wrong.
- Start with an image that has a clear subject and readable composition.
- Describe what moves, what stays still, and how the camera behaves.
- Choose a duration and aspect ratio that suit the scene and intended use.
- Review the output and refine one or two details at a time.
- Use only images you have permission to animate, and ensure everyone depicted is an adult who has consented.
What an AI image-to-video generator can do
An AI image-to-video generator uses a still image as the visual starting point for a moving clip. You add a prompt to guide motion and scene details, then the system generates video based on the image and those instructions. An AI image to video generator for adults can support personal experiments, artwork, and creator workflows, as long as the source material is appropriate to use.
How still images become moving scenes
The image supplies the subject, composition, and visual cues; the prompt suggests how those elements should change over time. A portrait might gain a small shift in expression, while a landscape could include moving clouds or a slow camera pan. Animator Hub offers Image-to-Video mode to upload a still image and animate it into a moving video clip, with the AI interpreting image content and applying motion described in the prompt.
When image-to-video is useful for adult creators
A still image can be a useful starting point when you already have a character, pose, or setting you want to preserve. Adult creators may use the format to test a short scene, animate original artwork, or add motion to a photo they have the right to use. The process is most predictable when the main subject is easy to read and the movement request stays close to what the image can support.
How it differs from text-to-video and video-to-video
Image-to-video begins with an uploaded still, while text-to-video begins with a written description and video-to-video begins with existing footage. That difference affects how much visual information you need to provide before generation. If you have a specific composition in mind, a source image can give the model a more direct visual reference than a text description alone.
What to expect from a short generated clip
A short clip gives a single visual idea room to move without requiring a long sequence of events. Animator Hub supports image-to-video durations of 5, 10, or 15 seconds, and its output is 1080p. For a first attempt, a modest motion request is often easier to assess than several changes competing at once.
Choose an image and plan the scene
Before you write a prompt, decide what the image already communicates and what you want the video to add. A clean source image gives the generator a stronger starting point, while a crowded or ambiguous image can leave more room for unexpected changes. Think of the still as the first frame of a brief scene, not a blank canvas.
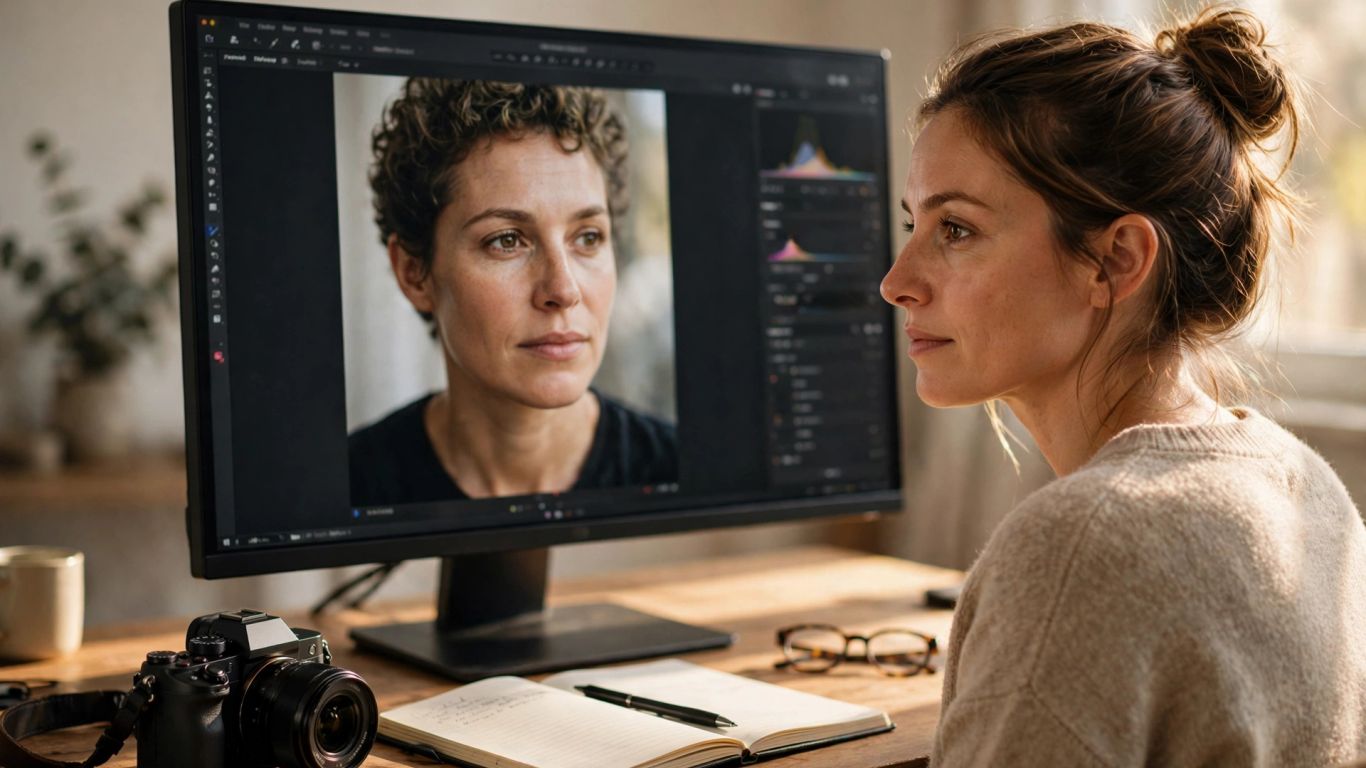
Pick a clear, well-composed source image
Choose a file where the main subject is visible and separated from distracting details. Faces, hands, and important objects should be clear enough to read at a glance, with enough surrounding space for the movement you have in mind. A useful source image does not need to be elaborate; a simple composition often makes it easier to judge whether the motion prompt worked.
Check image format, framing, and aspect ratio
Check the file before uploading so you know what the tool can accept and how the scene is framed. Animator Hub accepts PNG, JPG, and WEBP images for image-to-video generation, and the preview tile adapts to the image’s detected aspect ratio. For a broader sense of how creators approach motion from a still, see these photo-animation examples.
| Check | What to look for | Why it helps |
|---|---|---|
| File format | PNG, JPG, or WEBP | Confirms the source is an accepted image type |
| Subject framing | The subject is visible and not cut off | Leaves a clear visual reference for the clip |
| Aspect ratio | The image is portrait, square, or landscape | Helps you plan the final composition |
| Image clarity | Key details are easy to see | Reduces ambiguity in the source |
Use the preview to confirm the framing before generation, especially if the image is tall or unusually wide. A deliberate ratio choice can make the finished clip feel composed rather than cropped by accident.
Use only images you have the right to animate
Use your own image, artwork, or material you have permission to use. If another person appears, get their consent before turning the image into a moving clip, and do not use someone’s likeness to imply participation in a scene they did not agree to. These checks matter for private experiments as much as for anything you plan to publish.
Decide what should move and what should stay consistent
A prompt becomes clearer when it names the moving element and the parts that should remain stable. Before typing, choose one main action, one camera behavior, and any important details that should not change. For example, you might ask for a slow push-in while a curtain moves gently, with the subject’s clothing and position staying consistent.
Create a clip with Animator Hub
A straightforward image-to-video workflow starts with the still image, then adds a prompt and generation settings. Keep the first pass focused so you can see how the source and motion instruction work together. Once you have a result, you can decide whether the scene needs a new prompt, a different frame, or a revised duration.
Upload an image in image-to-video mode
Open the creation interface and select Image-to-Video mode before choosing the source file. Use a PNG, JPG, or WEBP image, then check that the uploaded preview shows the composition you intended. If the subject looks too small or a key detail is cut off, it is usually better to adjust the image before moving on.
Describe the motion, setting, lighting, and camera
Write a direct prompt that describes what happens rather than listing unrelated visual adjectives. Include the subject’s movement, any environmental motion, the lighting, and a camera direction only when those details help the scene. A concise instruction such as “the subject turns toward the window as soft afternoon light shifts, with a slow camera push-in” gives the model a coherent sequence to interpret.
Choose a duration and aspect ratio
Select a duration that gives the requested movement enough time to read. The available image-to-video durations are 5, 10, and 15 seconds, and the aspect-ratio options include 16:9, 9:16, 1:1, 4:3, and 3:4. A short, simple action may suit the shorter option, while a scene with a gradual camera move may need more time.
Preview the source image before generation
Pause at the preview step and look for anything that might complicate the result: an obscured face, a cropped hand, or a background detail that could be mistaken for part of the subject. The preview tile reflects the detected image ratio, which helps you notice framing before generating. A quick check here can save a rerun when the issue is really in the source image.
Improve prompts and control the result
Prompt revisions work best when each pass addresses a specific problem. If the clip has too much movement, reduce the action; if the subject changes unexpectedly, state which details should stay consistent. Animator Hub includes a prompt enhancer that rewrites a short or rough prompt into a more structured cinematic description, and for image-to-video it also analyzes the source media to fit the visual context.
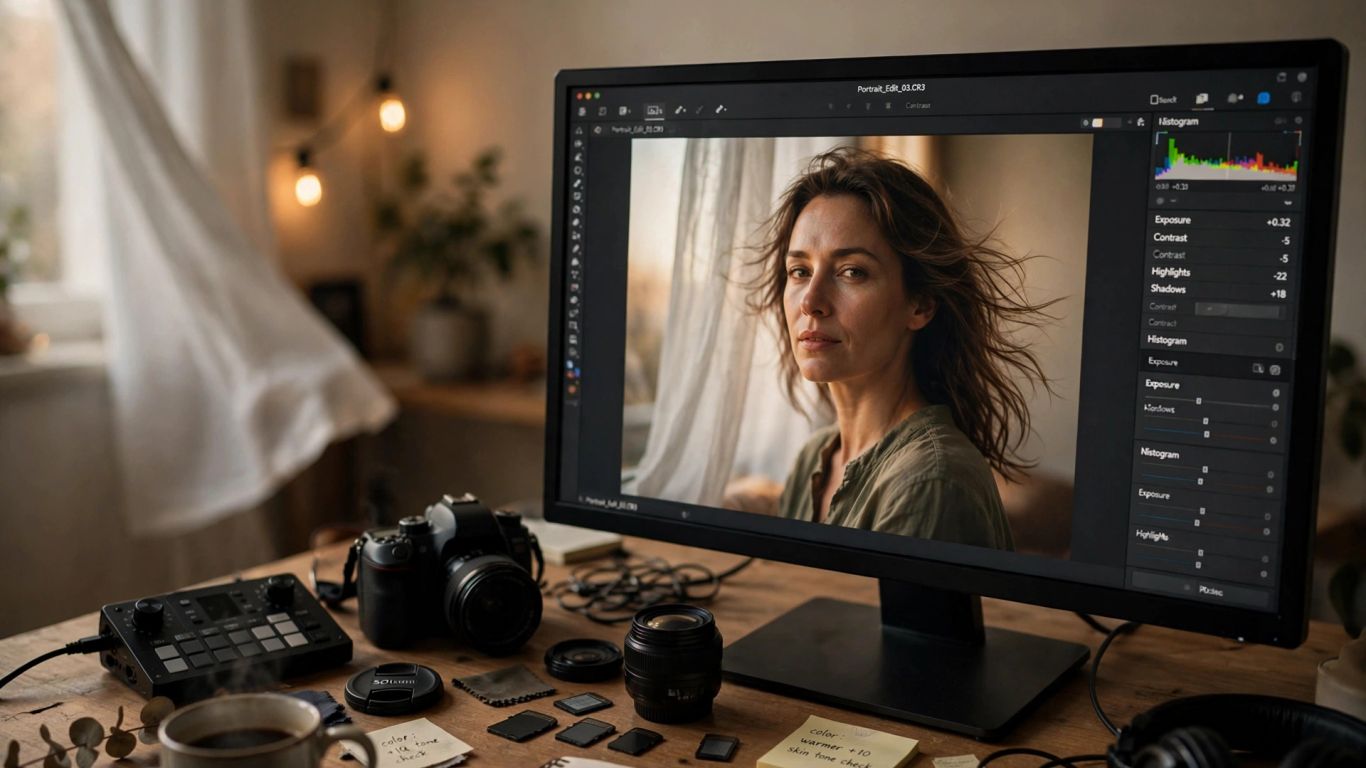
Use the prompt enhancer to add cinematic detail
The prompt enhancer can help when you know the basic action but are unsure how to describe it in a structured way. Review its suggested wording and keep the parts that match your intention; you can restore the original prompt with the Undo button. The enhancer is a starting point, not a reason to add details that do not belong in your scene.
Specify subtle or expressive motion
Use verbs that signal both the action and its intensity. “Turns slightly,” “breathes slowly,” and “leans toward the camera” suggest contained movement, while stronger verbs can produce a more expressive beat. When you want a quiet clip, say so directly and limit the prompt to one or two motions.
A compact prompt can be built from a few practical choices:
- Name the main subject and the action.
- Describe one environmental change, if the scene needs it.
- Add a camera move that supports the action.
- State which visual details should remain consistent.
Read the prompt once as a sequence of events. If it asks the subject, camera, lighting, and background to change at the same moment, simplify it until one clear action leads the clip.
Add a negative prompt to reduce unwanted artifacts
A negative prompt lists elements you want the output to avoid. It can be useful for common issues such as extra objects, unwanted motion, or visual distortions, but it cannot guarantee that every artifact will disappear. Animator Hub includes a negative-prompt generator that suggests exclusions based on the main prompt and uploaded reference media; review the suggestions and remove anything that conflicts with your intent.
Use multi-shot mode when a sequence needs distinct beats
Multi-shot mode is useful when a longer clip needs separate moments rather than one continuous action. Animator Hub lets users break a longer video into numbered shots with timestamps, giving more control over the sequence. For a single simple movement, a single-shot setup is usually easier to manage; reserve separate beats for a scene that genuinely changes over time.
Manage credits, privacy, and generated videos
A smooth workflow includes knowing how generation is charged and where finished clips go. Animator Hub uses a pay-as-you-go credit system, with 1 credit equal to 1 second of generated video. Its account model is described as anonymous, with no public profile or personally identifiable information shown, and the video library lets users manage clips after generation.
Understand the pay-as-you-go credit system
For image-to-video, the duration you choose determines the number of seconds generated, and the credit rule is one credit per second of video. That makes the duration setting a practical budgeting decision as well as a creative one. Check the current credits and available options before you submit a generation.
Track generation progress and estimated completion time
The video library shows generation status, including pending, processing, completed, failed, or expired. In-progress videos refresh automatically, and the interface provides estimated completion times calibrated to prior runs. Estimates are useful for planning, but leave room for a generation to take longer than expected.
Keep videos private or choose to share them publicly
Generated videos can be set to private or made public in Explore. Check the visibility setting before sharing a clip, especially if it includes personal material or a recognizable person. The private library and public gallery serve different purposes, so confirm the setting that matches your plans.
Organize, download, regenerate, or delete clips
Use the video library to review completed clips, download them, change their visibility, or delete them. You can organize videos into albums and use bulk actions to manage multiple items. Failed or expired generations can be regenerated, with the original prompt and settings prefilled, which can make a second attempt easier to set up.
Create responsibly and troubleshoot common issues
A polished result depends on more than prompt technique. Choose source material responsibly, follow the platform’s rules, and review the generated clip before sharing it. If the output looks wrong, start by identifying whether the issue came from the image, the prompt, or the framing rather than changing every setting at once.
Confirm everyone depicted is an adult and has consented
Only use images depicting adults, and make sure everyone shown has agreed to the image being animated and to any intended use of the clip. Do not use an image to create a misleading or unwanted depiction of another person. When consent or age is uncertain, do not proceed with that source.
Follow the platform’s content policy and age requirements
Animator Hub is for adults 18 and older and uses an age verification gate on the first visit. Its content policy prohibits content involving minors and any CSAM. Read the current policy and terms before creating or sharing material, and do not treat a permissive adult-content setting as permission to ignore those limits.
Address distorted faces, inconsistent details, or unwanted movement
If a face changes shape, clothing shifts, or an object moves unexpectedly, compare the problem with the source image and prompt. The source may be unclear, or the prompt may ask for too many actions at once. For further prompt ideas, the in-app guide includes prompt formulas and cinematic vocabulary that can help make instructions more precise.
Adjust the image, prompt, or framing before trying again
Make one focused change for the next attempt so you can tell what helped. Replace a cluttered image, simplify the action, or select a ratio that gives the subject more room. When a generation fails or expires, review its settings before regenerating rather than assuming the same setup will produce a different result.
Conclusion
A strong image-to-video clip begins with a usable image and a clear plan for motion. Choose a source you have the right to animate, keep the first prompt focused, and treat each result as feedback for the next pass. Small, deliberate revisions can help you keep the scene closer to your original idea.
Frequently Asked Questions
What is an AI image-to-video generator?
It is a tool that uses a still image as visual input and generates a moving clip based on a prompt describing motion or other scene details.
What kind of image works best for image-to-video?
A clear image with a visible main subject and uncluttered composition is a useful starting point. Make sure the details you want to preserve are easy to see.
How long should an image-to-video clip be?
Choose a duration that suits the action. A single small movement may need only a short clip, while a gradual change may require more time to read clearly.
Can I animate an image I found online?
Only if you have the necessary rights or permission to use and animate it. If another person appears, consider their consent and how the resulting clip may be used.
Why do faces or details change in a generated clip?
The source image may be unclear, the requested movement may be too complex, or the model may interpret details differently across frames. A clearer image and a narrower prompt can help.
How can I reduce unwanted movement?
Ask for a specific, restrained action and state which parts of the scene should remain still or consistent. Avoid combining several competing actions in one prompt.
What should I check before sharing a generated clip?
Review the clip for accuracy, consent, image rights, and visibility settings. Confirm that everyone depicted is an adult and that the content follows the applicable platform rules.