Blog › AI OnlyFans: How to Create Teasing, Scroll-Stopping Videos While Protecting Your Privacy
AI OnlyFans: How to Create Teasing, Scroll-Stopping Videos While Protecting Your Privacy
AI OnlyFans video ideas, workflows, prompt tips, and privacy practices for creating teasing clips with more control.
Key Takeaways
A teasing video works best when its visual idea, generation method, and privacy choices all line up. Start small, review carefully, then build on what feels like you.
- Use motion to give still images a fresh, more engaging feel.
- Choose text-to-video, image-to-video, or video-to-video based on what you already have.
- Give prompts clear details about the scene, mood, and camera.
- Track credit use and test short clips before committing to longer scenes.
- Check consent, privacy, likeness, and disclosure before you publish.
What AI OnlyFans content can do for your brand
AI video can add a new texture to your page without requiring every post to start with a camera and a full shoot. Think of short clips as another way to set a mood, tease a look, or give a familiar visual a little movement. The best results still come from a clear point of view and a style your audience recognizes.
Turn still images into eye-catching motion
A strong still can already have the right lighting, outfit, and expression. A short animation adds a shift of the eyes, a turn toward the camera, or movement in the setting, giving viewers a reason to pause. Keep the motion restrained when the image itself is doing the flirting; a small gesture can feel more intimate than a busy scene.
Build a consistent visual style across your content
Consistency comes from repeating choices, not making every clip look identical. You might use warm indoor light, close framing, or a familiar color palette across a set of posts. Keep a small note of the details that work, then include them in later prompts so each new clip feels connected to the rest of your page.
Test concepts before investing in a full shoot
A quick AI draft can help you check whether a visual idea has the right energy before you plan a more involved production. Try a different setting, camera angle, or mood and compare the results. Treat these tests as rough creative sketches, not a promise that a finished shoot will look exactly the same.
Set clear expectations about AI-generated content
Be straightforward about what you’re posting and how you made it. Your audience may be drawn to a fictional persona, a stylized version of you, or a mix of real and generated material. Clear expectations help people understand the experience they’re paying for. Before posting, check the current AI-content rules for the platform you use, and make sure your captions don’t imply that generated scenes are documentary footage.
Choose the right AI video workflow
The right workflow starts with the material you have and the result you want. Animator Hub offers Text-to-Video, Image-to-Video, and Video-to-Video generation modes. Each begins from a different source, so picking one is less about chasing a trend and more about choosing the cleanest route to your idea.
Use text-to-video to bring a scene to life from scratch
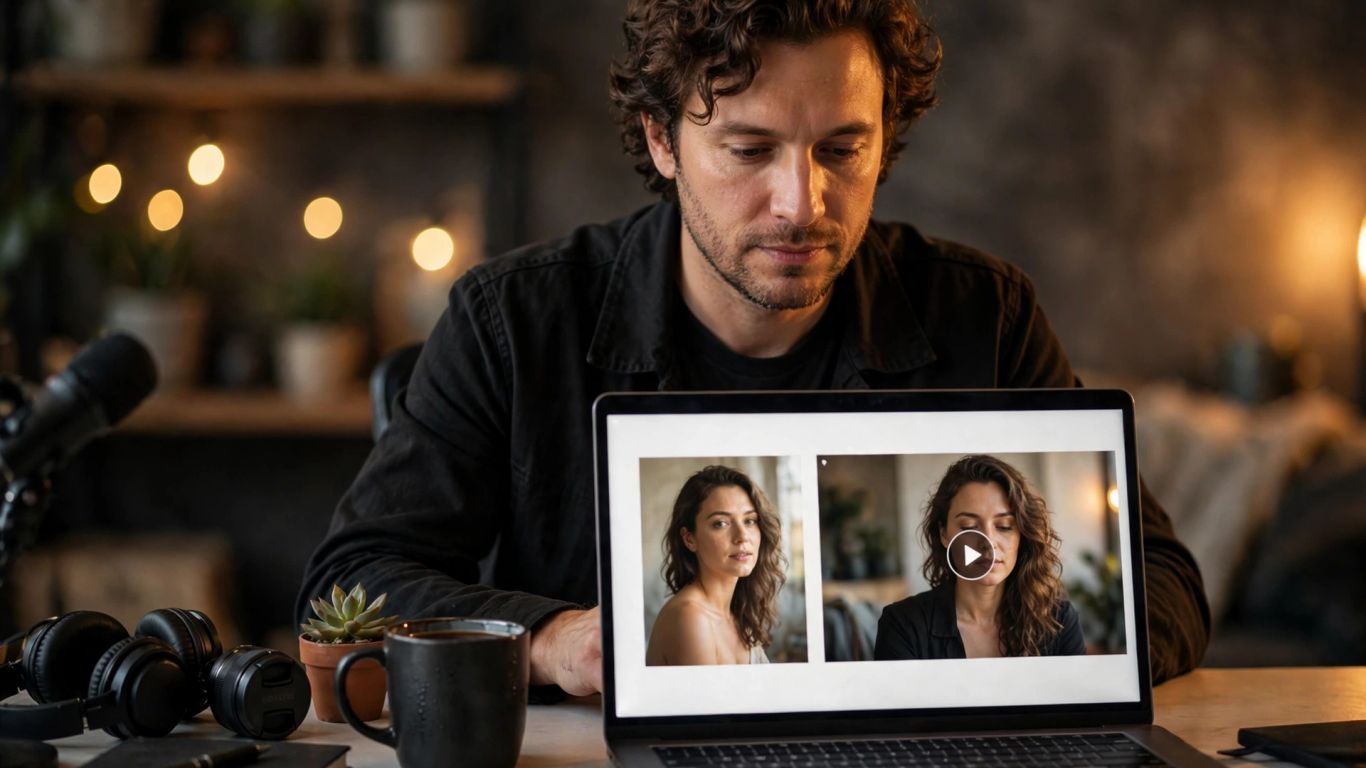
Start with text-to-video when you have a scene in mind but no image or footage to use as a base. Describe the subject, place, light, and action in plain language, then add a specific mood or camera direction. This approach gives you room to start fresh, though a prompt with too many competing details can muddy the result.
Animate an image when you already have a strong visual
Image-to-video makes sense when you have a still whose composition already feels right. The prompt can focus on the movement you want rather than restating every detail in the image. Ask for one or two changes, such as a slow turn or a breeze moving hair, and keep the original visual as the anchor.
Restyle existing footage with video-to-video
Video-to-video starts with source footage and transforms it according to your direction. It can be useful when the movement or pose is working, but you want to change the style, clothing, or environment. Before uploading, check that you have permission to use the footage and that everyone shown has agreed to the way you plan to alter and share it.
Match generation mode to your content goals
A quick comparison can help you settle on a mode before spending time writing a detailed prompt. Think about what you can provide and which parts of the scene need the most control.
| Mode | Starting point | A good fit when |
|---|---|---|
| Text-to-video | A written scene description | You want to begin with a new visual idea |
| Image-to-video | A still image | You want to add motion to a chosen composition |
| Video-to-video | Existing video footage | You want to transform the look of a source clip |
Choose the mode that preserves the part you already like. If the image is the star, animate it; if the movement matters most, begin with footage. A clear starting point keeps the creative decisions manageable.
Craft prompts that make viewers stop scrolling
A prompt is a direction, not a wish list. Specific details give a video model something concrete to work with, while a long string of vague adjectives can pull the scene in several directions at once. Start with the visual you want viewers to notice, then add only the details that support it.
Describe the subject, setting, lighting, and mood
Name the subject and setting first, then describe the light and emotional tone. “A woman in a black satin robe by a rain-streaked window, low amber lamp light, playful and self-assured” gives a clearer visual target than “sexy, cinematic, beautiful.” Animator Hub includes a built-in prompt enhancer and negative-prompt generator, which can help refine a starting idea; review the wording and keep the final direction true to your intent.
Direct camera movement and framing for a more polished feel
Camera language can guide the viewer’s attention. A close-up can make a glance feel charged; a slow push-in can build anticipation without adding a complicated action. Be direct about framing and movement, and avoid asking for several camera moves in one short clip. One clear camera cue often gives a scene more focus than a string of directions.
Use negative prompts to steer away from unwanted details
Negative prompts can name things you don’t want in the result, such as extra people, distracting objects, or a camera shake. Keep the list relevant to the scene. A long inventory of possible flaws may compete with the details you actually want, so prioritize the issues that would spoil the clip most.
Plan multi-shot sequences with a beginning, build, and payoff
For a sequence, give each shot a purpose: establish the mood, build a little tension, then finish on a revealing gesture or expression. A simple outline helps keep the story legible without overloading every shot. Try a compact plan like this before writing the full prompt:
- Open with a setting or close detail that sets the mood.
- Bring the subject into focus with one deliberate movement.
- Build anticipation through a change in framing or expression.
- End on a clear visual payoff, then leave a little space.
That sequence gives the clip a shape while leaving room for the generated motion to breathe. If a draft feels crowded, remove a beat before adding more adjectives.
Create more while keeping control of your budget
Small choices add up when you’re making several versions of a clip. Decide what you need to learn from each generation, then spend only enough to answer that question. Animator Hub uses pay-per-second pricing, with one credit equal to one second of generated video, so duration is a practical part of planning.
Compare credit costs before choosing clip lengths
A longer clip can give an action more room, but it also uses more credits. Start by deciding whether the idea needs a full sequence or just a short visual hook. In Animator Hub, the one-credit-per-second pricing rule makes the duration-to-credit calculation direct; check the available balance before you begin so you can choose a length that suits the test.
Start with short drafts before generating longer scenes
A short draft can answer basic questions: does the lighting work, does the framing feel intimate, and does the motion match the mood? If the core idea is right, you can then decide whether a longer scene is worth making. This staged approach keeps early experiments focused and gives you a better reason to spend more on the next pass.
Use prompt enhancement to sharpen a rough idea
When a prompt feels fuzzy, write the core scene in one plain sentence first. Then add the most useful visual details, such as a setting, a lighting choice, or a camera move. A prompt tool can help expand that starting point, but your own review matters: remove any added detail that changes the concept or makes the scene feel less personal.
Track failed generations and regenerate strategically
A failed or unsatisfying result can still tell you what to change. Note whether the issue came from the prompt, the source image, or an overly ambitious action, then adjust one thing at a time. That way, a new generation tests a clear fix rather than repeating the same idea with a few random edits.
Protect your identity, files, and creative rights
Privacy is part of the production workflow, not a final checkbox. Decide what you’re comfortable showing, where source material will live, and who has permission to appear in a clip. These checks matter even when the final video is stylized or generated from a reference.
Keep source images and finished clips in private storage
Store reference images and completed clips somewhere you control, with access limited to people who need it. Use strong, unique passwords for accounts that hold sensitive media, and check sharing settings before sending a file or link. Animator Hub uses an anonymous account model with no public profile or public display of personal information, and user-uploaded files are stored privately and tied to the account. Still, handle downloads and backups with care wherever you keep them.
Avoid uploading material you lack permission to use
A photo or video being easy to find online doesn’t mean you have the right to alter it or publish a new version. Use material you created, licensed, or have clear permission to use. Keep records of permissions when other people’s work or images are part of the source.
Get informed consent before depicting another person
If a real person appears in source material or is recognizable in the generated result, get their informed consent before creating or sharing it. Make sure they understand the context, the changes you plan to make, and where the final clip may appear. Don’t treat an AI alteration as a workaround for permission.
Review age, likeness, and disclosure requirements before publishing
Keep every person depicted clearly adult, and never create or share sexual content involving minors. Review the rules that apply to your publishing platform and any relevant local requirements before posting. If a generated persona could be mistaken for a real person, be especially careful about likeness and disclosure. Clear labeling can set expectations without draining the tease from the work.
Turn finished clips into a smarter content strategy
Once you have a few clips, organization makes it easier to use them with intention. Sort work by visual theme or campaign, then consider where each version fits before publishing. A tidy library also helps you spot which ideas you’ve already tested, instead of accidentally repeating the same one.
Organize videos into albums by theme or campaign
Group clips by a useful idea: a character, a color palette, a seasonal campaign, or a particular mood. Give each album a name you’ll recognize later, and keep drafts separate from finished pieces. Animator Hub’s personal video library supports albums and bulk actions, which can help keep a growing collection organized.
Preview aspect ratios for different placements
Framing changes how a clip feels. A close crop can bring a face or gesture forward, while a wider frame gives the setting more presence. Check how the subject sits in the frame before you publish, especially if you plan to use the same clip in more than one placement. A crop that works in one ratio may cut off the detail that made the scene enticing.
Study public examples for inspiration without copying
Public examples can help you notice how creators use lighting, composition, or movement. Look for the underlying choice rather than lifting someone else’s exact scene or prompt. The goal is to understand why a visual works, then translate that lesson into your own style and character.
Use audience response to shape your next round of creations
Pay attention to what viewers respond to, but look for patterns rather than treating one post as a verdict. Did a close crop get more attention than a wide shot? Did the audience linger on a quiet expression or a bolder reveal? Use those signals to choose the next experiment, then keep enough variety to preserve a sense of surprise.
Conclusion
AI OnlyFans videos can give your content a fresh kind of tease when you pair a clear visual idea with the right workflow. Start with a short test, protect the people and files involved, and let audience response guide your next move without taking over your style.
Frequently Asked Questions
Can AI-generated videos be used for OnlyFans content?
That depends on the platform’s current rules and the details of the content. Check its terms and disclosure requirements before publishing, and be clear with subscribers about what they’re viewing.
What is the easiest way to start making an AI video?
Start with one simple scene and choose a workflow that fits your source material. If you have only an idea, describe it in text; if you have a still or video, begin from that material instead.
How can I make an AI clip feel more personal?
Use consistent choices in lighting, framing, setting, and mood. A distinctive point of view usually feels more personal than adding many decorative details to a prompt.
Should I use a short or long clip?
Use the shortest length that can show the action clearly. Short drafts help you test a concept, while a longer clip makes sense when the scene needs time to develop.
How do I protect my privacy when generating videos?
Limit access to your files, review account and sharing settings, and avoid uploading sensitive material unless you have a clear reason and the necessary rights. Treat downloads and backups as carefully as the original source.
Do I need permission to use someone else’s photo or video?
Yes, get clear permission before using another person’s image or footage, especially if you plan to alter it or share the result. Consent should cover the intended use and context.
Should I disclose that a video is AI-generated?
Check the rules where you plan to publish and avoid misleading viewers about what is real. Clear disclosure can help set expectations, particularly when a generated person could be mistaken for someone real.