Blog › AI image to image generator NSFW: How to choose a tool and create responsibly
AI image to image generator NSFW: How to choose a tool and create responsibly
AI image to image generator NSFW guide: choose tools, prepare references, and create responsibly.
Key Takeaways
An NSFW image-to-image workflow works best when you know what you may edit, what the tool can actually control, and how it handles your files. A few careful checks can protect both the subject and the result.
- Image-to-image starts from a reference, while text-to-image starts from a written description.
- Check editing controls, file support, pricing, and content rules before choosing a tool.
- Use only references you have permission to edit, and remove details you do not want processed.
- Refine prompts gradually, changing one element at a time.
- For motion, image-to-video may fit better than a still-image workflow.
What an NSFW image-to-image generator does
An NSFW image-to-image generator takes an existing image as a starting point and uses a prompt to guide changes. The reference can help preserve elements such as framing or visual style, though results vary by tool and settings. Before you begin, decide which parts of the image should change and which should remain. That distinction makes the process more deliberate and helps you judge the output fairly.
How image-to-image differs from text-to-image
Text-to-image begins with words alone: the model interprets a description and creates an image from it. Image-to-image adds a visual reference, giving the model another source of information about the subject, pose, framing, or palette. It does not guarantee that every detail will stay fixed, so treat the reference as guidance rather than a locked template.
How prompts guide edits to a reference image
A prompt should spell out the change you want, not merely repeat what is already visible. If the aim is to change clothing, for example, describe the new clothing and clarify whether the pose, background, and crop should remain similar. Specific language can reduce ambiguity, but a prompt cannot promise an exact result. A useful habit is to keep notes on the wording and settings that produce outputs closest to your intent.
What to expect from style, identity, and composition controls
Tools differ in how much control they offer over style, identity, and composition. Some let you adjust these independently; others rely mostly on the prompt and reference image. Separate control from consistency when you assess a result: a tool may offer a setting without preserving every feature of the source. Check the output at full size, especially around faces, hands, and image edges, before deciding whether it is usable.
How to choose the right generator
Choose a tool for the job you actually have, rather than for a broad promise of creative freedom. An image editor and a video generator can both accept visual inputs, but that does not mean they perform the same task. Compare the practical details first, then consider whether the service’s rules and payment model suit your needs. A little checking up front can save time and avoid uploading a reference to a tool that cannot do the intended work.
Compare image editing features with video animation features
Look closely at what happens after you upload a still. Image-to-image usually means generating or editing a still image from a reference, while image-to-video means animating a still into a moving clip. Animator Hub lists Text-to-Video, Image-to-Video, and Video-to-Video as its generation modes, so it is relevant when the desired result is a video rather than an edited still. Don’t infer image-editing features from the presence of image-to-video.
Check supported formats, output quality, and generation limits
File rules and output options shape whether a workflow is practical. Compare the details that are published, and make sure they match the files and delivery format you need. A compact comparison can keep these different checks from blurring together:
| What to check | Why it matters | What to confirm |
|---|---|---|
| Input formats | Determines whether your reference can be uploaded | Accepted file types and size limits |
| Output type | Clarifies whether you receive a still or a clip | Image or video, plus export options |
| Framing | Affects how the subject fits the result | Aspect ratios and crop behavior |
| Generation limits | Helps set realistic expectations | Duration, resolution, and usage caps |
Treat missing details as questions to resolve before you pay or upload. A tool that handles video input, for instance, may still not offer the still-image editing controls you expected.
Review pricing, credits, and account requirements
Pricing can be based on subscriptions, credits, or use by generation, so compare the actual billing unit instead of only the headline price. Animator Hub uses a pay-as-you-go credit system in which one credit equals one second of generated video; that is a video-generation price unit, not a measure for still-image editing. Also check whether an account, age confirmation, or payment method is required before you start. If you're running a model yourself, a discussion of model-control documentation may point toward SDK and Diffusers resources, though its setup may not match a hosted tool.
Read the content policy before uploading or generating
An adult-content label alone does not explain what a service allows. Read the rules for uploads, generated subjects, and sharing, and confirm the policy covers your intended use. If anything is unclear, pause before submitting a private reference. The terms of service and privacy policy can answer questions that a short feature page may leave open.
How to prepare a reference image
A good reference is not simply a high-resolution file. It should be appropriate to use, framed for the result you want, and free of details you would rather not send to a service. Give yourself a moment to review the image before upload. This small check can prevent avoidable privacy and consent problems later.
Choose an image you have permission to use
Use your own work or an image you have clear permission to edit. Permission to view or save a picture does not automatically mean permission to transform it into sexual or adult material. If another person is depicted, get their informed consent for this specific use. When the rights or consent are uncertain, choose a different reference.
Check image quality, framing, and aspect ratio
Start with a clear image where the subject is visible and the crop leaves enough room for the requested change. A tightly cropped face may not provide useful information about clothing or pose; a distant subject may make small details difficult to interpret. Think about the final aspect ratio before uploading, because changing it later can crop out important parts of the scene. A simple, well-lit reference is often easier to assess than a busy one.
Avoid private images shared without the subject’s consent
Never use intimate images shared privately without the subject’s permission, even if you already have access to the file. Editing or generating sexual material from someone’s likeness without consent can cause real harm. Keep consent specific: permission for one purpose does not necessarily cover a different edit or a public post. When in doubt, do not upload it.
Remove sensitive details you do not want processed
Check the background as carefully as the main subject. Faces of bystanders, location clues, documents, usernames, and other identifying details can all be present outside the focal point. Crop or blur anything you do not want processed, and consider using a copy of the original so you retain an untouched source file. Remember that removing visible details does not replace checking how a service stores uploads.
How to build a controlled image-to-image workflow
A controlled workflow begins with a clear goal and a reference you are comfortable using. Rather than asking for several unrelated changes at once, make a small edit, inspect it, and decide what to adjust next. This gives you a better sense of which prompt details are helping. It also makes it easier to stop when the result moves away from your intent.
Describe the intended changes clearly
Write the prompt around the change, then note what should stay consistent. For example, you might ask for a different outfit while keeping the general pose and indoor setting. Avoid piling on vague adjectives that point in competing directions. A direct description gives the model a more coherent target, even though it cannot guarantee a precise edit.
Specify the style, lighting, and composition
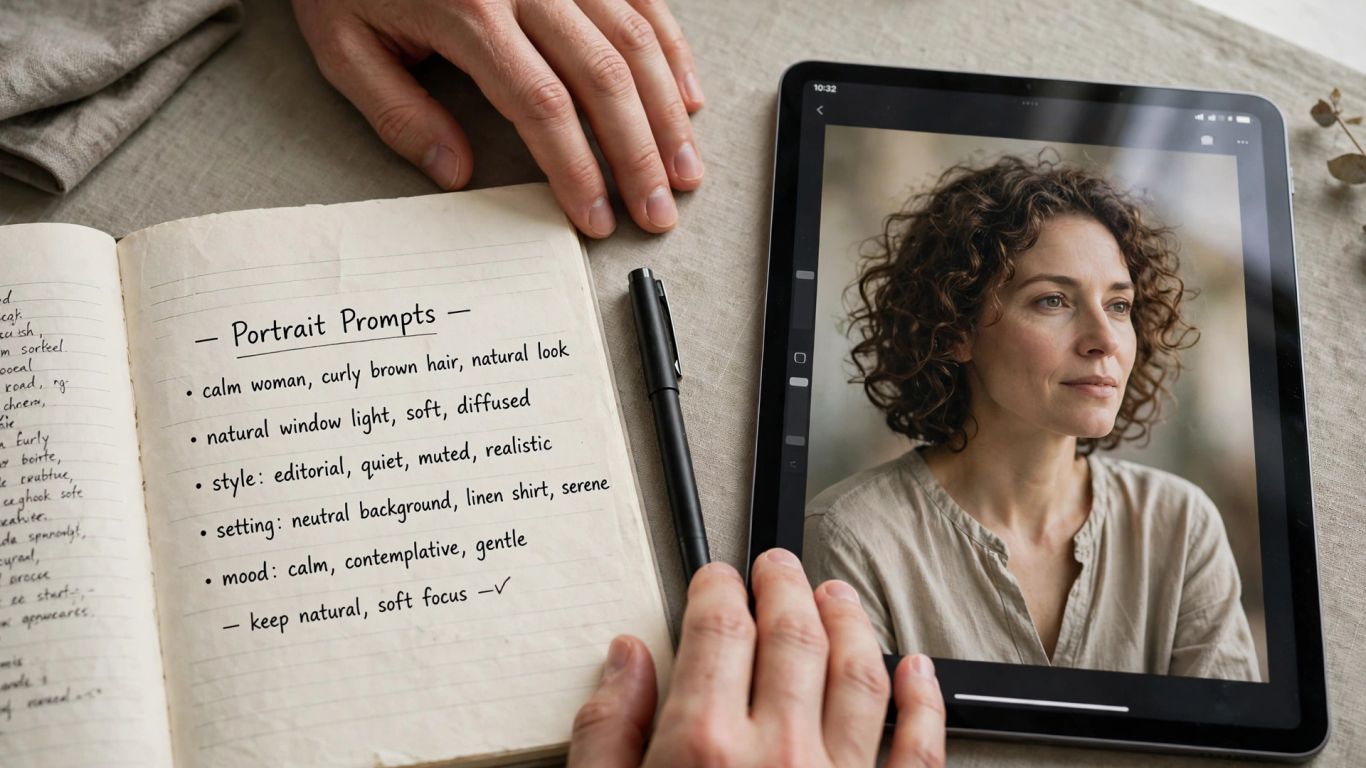
Style words, lighting, and framing can all affect the mood of an image. Describe them in concrete terms: soft window light, a close portrait, a plain background, or a muted color palette. Choose only details that support the result you want. If you give equal weight to several different styles or camera angles, the output may feel less consistent.
Use negative prompts to reduce unwanted results
Negative prompts can help state what you do not want, but they are not a substitute for a clear positive description. Keep the exclusions short and focused on likely problems in your specific image. A practical set might include:
- Extra fingers or distorted hands
- Unwanted text or logos
- A changed background when it should remain simple
- Cropping that cuts off the subject
Use these notes as a starting point, then compare the result with your request. If the output still misses the mark, adjust the main prompt or settings rather than adding a long list of exclusions.
Adjust one variable at a time when refining outputs
If you change the style, lighting, framing, and subject details all at once, it becomes hard to know what improved the result. Keep a short record of each version and change only one meaningful variable for the next attempt. That method takes a little patience, but it gives you useful feedback instead of a string of unrelated generations. Stop when added changes no longer improve the image you need.
How to evaluate privacy and adult-content safeguards
Privacy and content rules are part of the tool choice, not fine print to read after an upload. Look for clear statements about age limits, prohibited material, file handling, and visibility. Separate what the service says about generated media from what it says about source files. If you cannot tell whether an upload is private, assume you need clarification before proceeding.
Confirm age requirements and prohibited content rules
Check the minimum age and the full list of prohibited content before using an adult-oriented service. Animator Hub requires users to be 18 or older and uses an age-verification gate on the first visit; its policy prohibits content involving minors. Read the complete content policy rather than relying on a short description of the service. Do not attempt to work around an age gate or content restriction.
Understand storage, visibility, and deletion controls
Find out how uploads and generated files are stored, what controls you have, and how deletion works. Animator Hub states that user-uploaded files are stored privately and tied to the account, while generated videos can be managed in a personal library. Review the service’s current privacy information for the details that apply to your account and files. Do not assume storage terms for an upload also describe every option for sharing a finished result.
Check whether uploads are private or may appear in a public gallery
A private source file and a public finished post are different things, so check visibility controls for each. Animator Hub has a public Explore gallery for community videos that creators have set to public, and its library includes a visibility control for videos. Before sharing, verify the setting on the specific item rather than relying on a general privacy description. If you want to keep a result private, confirm that it is not marked public.
Never create sexual content involving minors or nonconsenting people
Do not create or request sexual content involving anyone under 18, or use another person’s likeness for sexual material without their consent. These are firm boundaries, not prompt details to work around. Use adult subjects who have agreed to the specific depiction, and avoid references that make age or consent unclear. If an image raises doubt, do not use it.
When image-to-video is a better fit
A still-image edit is not the right format for every idea. If the result depends on movement, expression, or a changing scene, image-to-video may be a better fit than generating another still. Start by deciding what should move and what should remain visually stable. Then check the mode’s input rules, duration choices, and privacy controls before creating a clip.
Animate a still image with image-to-video generation
Image-to-video uses a still as a visual starting point and produces a moving clip. Animator Hub accepts PNG, JPG, and WEBP still images for Image-to-Video generation; its system interprets the image content and applies motion, expressions, and scene dynamics described in the prompt. That differs from editing a still image, so choose it when motion is part of the outcome you want. Review the still carefully before submitting it, just as you would for an image-editing workflow.
Add motion and scene direction to an animation prompt
Describe the movement you want in plain, observable terms: a slow turn, a brief glance toward the camera, or a gentle change in the background. Keep the direction proportionate to the source image; an elaborate scene change may not fit a simple portrait. Specify whether the camera should remain still or move, if that control is available. A focused instruction usually gives you a clearer basis for evaluating the clip.
Understand Animator Hub’s video modes and output durations
Animator Hub offers Text-to-Video, Image-to-Video, and Video-to-Video modes. Its Image-to-Video mode supports 5-, 10-, or 15-second durations, while Video-to-Video supports 5 or 10 seconds. Those options describe video generation, not a still-image editing feature. Match the mode and duration to the material you have and the length of clip you need.
Compare video credits and privacy controls before creating a clip
Before starting, check the number of seconds you plan to generate and how the service charges for that duration. Animator Hub’s stated pricing rule is one credit per second of generated video, so the planned clip length is directly relevant to the credit cost. Also check whether the output will remain private or can be made public, and confirm the setting before sharing. A quick review helps you avoid an unexpected cost or visibility choice.
Conclusion
The right NSFW image-to-image workflow depends on clear intent, a reference you have permission to use, and a tool whose controls match the result you want. Take consent and privacy seriously, check the rules before uploading, and choose image-to-video only when motion is part of the brief. Small, deliberate edits make it easier to stay in control from the first prompt to the final file.
Frequently Asked Questions
What does an NSFW image-to-image generator do?
It uses an existing image as a visual reference and a prompt to guide changes, producing a new or edited still image. The extent to which the result preserves the source depends on the tool and its controls.
How is image-to-image different from text-to-image?
Text-to-image starts with a written prompt, while image-to-image also uses a reference image. The reference can guide visual details, but it does not guarantee an exact match or preserve every feature.
Can an image-to-image tool keep a person’s identity unchanged?
Not reliably in every case. Identity consistency depends on the model, settings, and input, so inspect results carefully and never use a real person’s likeness for sexual content without their informed consent.
What should I include in an image-editing prompt?
State the intended change, describe relevant style or lighting, and say what should remain similar. Focused instructions are easier to evaluate than a prompt containing many unrelated requests.
Is it safe to upload a private reference image?
That depends on the service’s storage, visibility, and deletion practices. Read its privacy information first, remove sensitive details you do not want processed, and do not upload another person’s private image without their consent.
When should I choose image-to-video instead?
Choose image-to-video when the desired result needs movement, expressions, or scene dynamics rather than a new still. Check supported formats and available durations before uploading.
What content should never be generated?
Never create sexual content involving minors or nonconsenting people. Follow the tool’s full content policy, and do not proceed when a subject’s age or consent is unclear.