Blog › AI girlfriend video generator: how to create personalized clips with AI
AI girlfriend video generator: how to create personalized clips with AI
Plan prompts, workflows, settings, and privacy for an AI girlfriend video generator.
Key Takeaways
A strong clip starts with a clear idea, a fitting generation workflow, and a few specific visual details. Keep the character and scene consistent, then review privacy and platform rules before you generate.
- Choose text-to-video, image-to-video, or video-to-video based on the material you have.
- Describe the character, action, setting, mood, framing, and light in concrete terms.
- Use a reference image or repeat key character details to support visual continuity.
- Check duration, aspect ratio, and credit costs before starting a generation.
- Keep private media private, and use adult-only tools without involving minors.
What an AI girlfriend video generator can do
An AI girlfriend video generator can turn a written scene or visual reference into a short clip. The result depends on the input, the controls available, and how clearly the prompt describes the moment. Think of the first generation as a starting point: small changes to the action or framing can lead to a noticeably different feel.
Turn a text prompt into a short video
With text-to-video, you describe the subject and scene in plain language, then the system generates a matching video. A prompt might describe an adult woman in a sunlit kitchen, turning toward the camera with a warm smile. State what happens in the clip, not just what the character looks like; a visible action gives the model a moment to depict.
Short clips usually work best when they focus on one simple beat. A greeting, a glance toward the camera, or a slow walk across a room is easier to picture than several actions competing for attention. Animator Hub supports text-to-video generation from a scene description, with available durations of 5, 10, or 15 seconds.
Animate a reference image or transform existing footage
If you already have a still image, image-to-video can add motion based on the image and a prompt. You might ask for a gentle head turn, moving hair, or a slight change in expression. The prompt should build on what is already visible rather than introducing a new scene that conflicts with the reference.
Video-to-video starts with an existing clip and applies a transformation, such as a change in style, clothing, or environment. These workflows are distinct, so choose based on the source you have and the kind of change you want. For a separate set of text-and-image video ideas, see text-and-image video ideas.
Create clips featuring a custom or preset AI companion
A preset character offers a ready-made starting point, while a custom character lets you specify more of the look and persona. In either case, a short clip benefits from a single clear interaction rather than a long sequence of loosely connected actions. Keep the scene focused on one person and one moment if consistency matters more than variety.
Choose a video creation workflow
Start by looking at the material you already have: a written scene, a still image, or a source video. Each input leads to a different workflow, and the best fit is the one that supports the visual change you want without adding unnecessary steps. Animator Hub provides text-to-video, image-to-video, and video-to-video generation modes.
Use text-to-video to describe a scene from scratch
Text-to-video is useful when you have a scene in mind but no reference media to upload. Describe the character, location, action, and tone, then decide what should happen within the short clip. Animator Hub's text-to-video mode accepts plain-language descriptions and supports durations of 5, 10, or 15 seconds.
The workflow options differ in their inputs and available durations, so a quick comparison can help you choose before writing a detailed prompt.
| Workflow | Starting material | Available durations |
|---|---|---|
| Text-to-video | A written scene description | 5, 10, or 15 seconds |
| Image-to-video | A still image and prompt | 5, 10, or 15 seconds |
| Video-to-video | One or more source clips | 5 or 10 seconds |
Use the mode that matches your starting material, then keep the prompt aligned with it. A detailed written scene suits text-to-video; a specific expression or pose may be easier to retain when you begin with a reference image.
Use image-to-video to add motion to a still image
Image-to-video works from a still image, with the prompt guiding the movement and scene dynamics. Ask for a small, plausible action that fits the image, such as a glance, a shift in posture, or a breeze moving loose hair. When the reference already has the look you want, describe motion rather than restating every visual detail.
Use video-to-video to restyle or transform a source clip
Video-to-video takes footage as its starting point and lets you request changes to style, clothing, or environment. Keep the transformation request focused: several major changes at once can make it harder to judge which instruction shaped the result. Animator Hub's video-to-video mode accepts source clips and offers 5- or 10-second generated durations.
Design your AI girlfriend and scene
A convincing character is more than a list of appearance traits. Consider how the person should come across in the scene, what their relationship is to the viewer, and how those choices affect the action. Consistent decisions at this stage make prompts easier to write and revisions easier to compare.
Select appearance, style, personality, and relationship
Choose a small set of defining details, such as hair, clothing, and a visual style, then pair them with a personality and relationship that fit the scene. A playful character might respond with a quick smile, while a reserved one might communicate through a quieter gesture. The character's age must be adult, and any platform's rules should guide what content is appropriate.
Choose a preset companion or build a custom character
A preset companion is a practical choice when you want to get to a scene quickly. A custom character gives you more control over traits such as appearance, style, identity, personality, and relationship. My Lover includes curated preset companions and a step-by-step builder for personalizing a companion, as well as on-demand short video clips of that companion.
Keep character details consistent across generations
When you make several clips, repeat the same defining details instead of rewriting the character from scratch each time. Keep the name, hair, usual clothing, and visual style stable, and change only the scene or action you want to test. If you use reference media, choose images that agree with those established details; conflicting references can make continuity harder to maintain.
Write prompts for more convincing clips
A useful prompt gives the video model a clear subject, a place, and an action it can show. It does not need to read like a screenplay, but it should be specific enough that someone else could picture the same moment. A few well-chosen details often help more than a long string of adjectives.
Describe the subject, setting, action, and mood
Begin with who is in the scene and where it takes place, then say what the character does. Add a mood that supports the action, such as relaxed, playful, or reflective. A prompt can also mention a small environmental detail, like rain on a window or warm afternoon light, to give the setting a distinct feel.
For a compact prompt, build the scene from four ingredients and check that each one has a clear purpose:
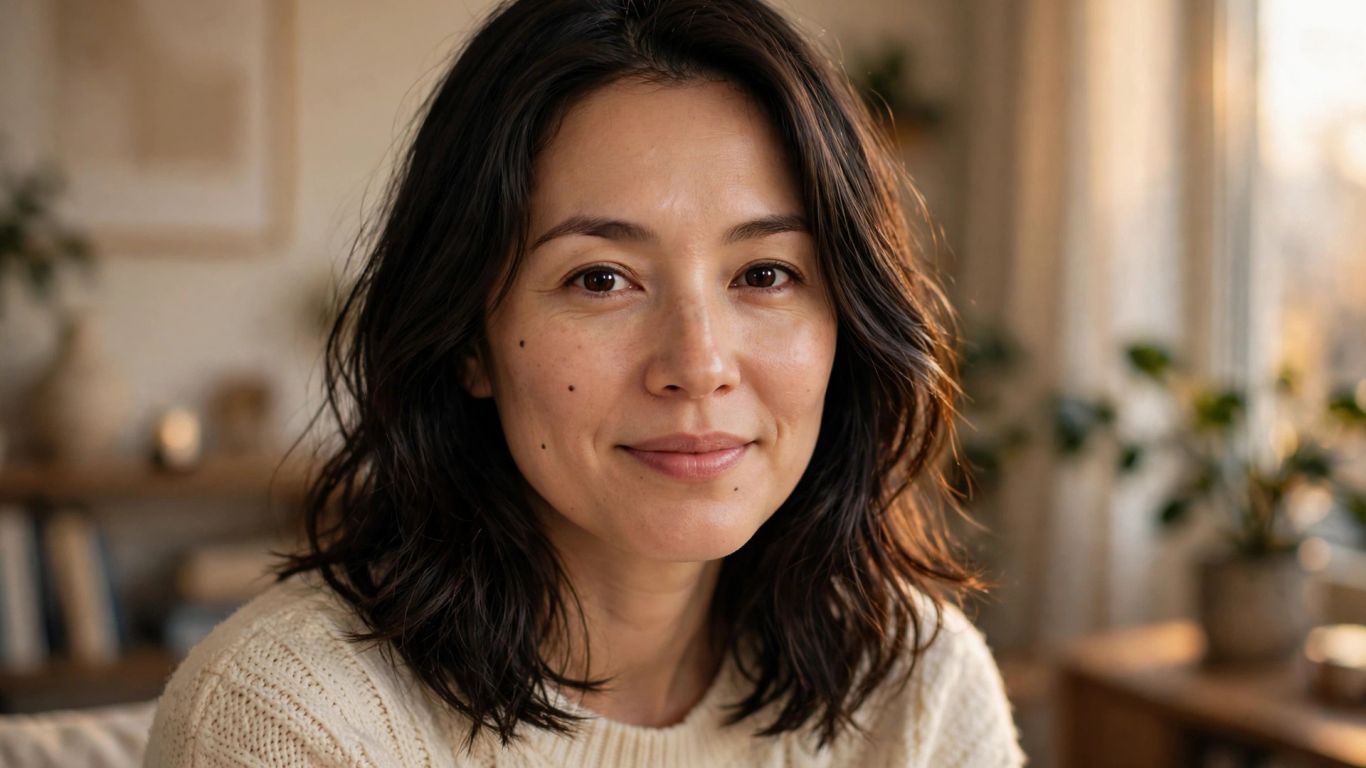
- Subject: an adult woman with shoulder-length dark hair and a cream sweater.
- Setting: a quiet apartment living room in the late afternoon.
- Action: she looks toward the camera and gives a small, friendly wave.
- Mood: relaxed and affectionate, with a natural, understated expression.
This structure keeps the moment legible without piling on unrelated details. If the first result feels too busy, remove one action or setting detail before adding more instructions.
Specify camera movement, framing, lighting, and visual style
Visual direction can guide how the moment is presented. Specify whether the shot is a close-up or a medium shot, whether the camera stays still or moves slowly, and where the light comes from. Keep the requested camera movement modest when the character's expression or gesture is the main point.
Style words should reinforce one another. For example, a natural photographic look pairs well with soft window light and a steady camera, while a stylized illustration might call for more deliberate colors and shapes. The text-to-video prompt examples offer another reference point for describing character appearance and scenes.
Use negative prompts to reduce unwanted details
A negative prompt lists elements you want the output to avoid, such as extra fingers, distorted faces, or text artifacts. Use it to address a specific problem rather than adding a long list of unrelated exclusions. Animator Hub includes a negative-prompt generator that suggests exclusions based on the main prompt and uploaded reference media.
Adjust settings, credits, and generation length
Settings affect both the shape of the clip and how much generated video you request. Before submitting, check the framing, duration, and any other available controls against the intended use. A portrait scene for a phone screen calls for a different aspect ratio from a wide cinematic shot.
Credits cost $0.20 each on the 1,000 credit pack ($200), and 1 credit is 1 second of video at 720p (2 credits per second at 1080p premium), with up to 4K quality through the upscale.
Pick an aspect ratio and a clip duration
Choose an aspect ratio that suits where the video will be viewed: a wide frame, square frame, or vertical frame can change how much of the setting remains visible. Then select a duration that gives the action enough room without asking a short clip to carry too many beats. Available duration choices can depend on the generation mode.
Estimate costs with the pay-per-second credit model
Pricing per second makes duration a useful first estimate: a longer clip uses more credits than a shorter one. Check the current credit balance and any displayed cost before generating, especially when testing multiple versions.
Review generation status and regenerate failed or expired clips
A generation may appear as pending, processing, completed, failed, or expired, so check its status before deciding what to do next. If a clip fails or expires, review the original settings and prompt before trying again. A changed prompt can be useful when the first attempt missed the scene; if the request was already clear, retrying unchanged may be the more direct test.
Protect privacy and follow platform rules
Personal scenes and reference media deserve careful handling. Before uploading an image or video, read the service's privacy policy and terms to understand how content is handled, who can access it, and what controls are available. Do not assume a generation is private just because the prompt is personal.
Check how uploads and generated videos are stored
Review the platform's policy before uploading photos or source footage, especially when other people appear in them. Check whether uploads and results are retained, what deletion options exist, and whether generated videos can be made public. Use only media you have the right to upload and transform.
Keep private media in your personal library or vault
If a service offers a private library, album, or vault, check its visibility settings before sharing or changing a clip's status. Keep sensitive results private when that is your preference, and download or delete media only after reviewing the available controls. A private workspace is useful, but it does not replace reading the service's terms and privacy information.
Use adult-only tools responsibly and never include minors
Adult-oriented generation tools are for adults, and age restrictions apply. Never use a minor's likeness or include anyone under 18 in sexual content, whether the image is real, generated, or transformed from source footage. Follow the platform's content policy and make sure any adult reference media is used with permission.
Conclusion
A focused scene, a workflow that fits your source material, and a few clear visual directions make a better starting point for personalized clips. Take time to review settings and privacy controls, then treat each generation as a chance to refine the moment rather than cram every idea into one video.
Frequently Asked Questions
What is an AI girlfriend video generator?
It is a tool that uses a written prompt, a still image, or existing footage to generate a short video featuring an AI companion or a described character. Available inputs and controls vary by service.
Can I make a video from text alone?
Yes. A text-to-video workflow lets you describe the subject, setting, action, and visual tone without starting from an uploaded image or clip.
Can I animate a still image?
Image-to-video tools use a still image as a reference and apply motion guided by a prompt. A simple action that fits the image is often easier to direct than a scene that changes everything at once.
How do I keep a character consistent across clips?
Repeat a few defining traits, such as hair, clothing, and visual style, and change only the scene details you want to test. A consistent reference image can also help when the tool supports one.
What makes a video prompt more effective?
Describe one subject, one setting, and a clear action, then add mood and visual direction such as framing or lighting. Remove details that compete with the main moment.
How are video-generation credits estimated?
Some services charge based on generated duration, so a longer clip may require more credits. Check the service's current pricing and mode-specific duration options before submitting a generation.
Is it safe to upload a personal image?
Review the platform's privacy policy and terms first. Check storage, access, deletion, and visibility controls, and upload only media you have the right to use.